Description: This document describes how to set up a 3G/4G-based VPN connection between a LANCOM 3G/4G router and a LANCOM VPN remote device, e.g. a LANCOM 1781AW. Requirements:
Procedure: Configuration option 1: Your 3G/4G connection has a public IP address from the mobile provider. Ideally both the DSL connection and the 3G/4G connection each have a public IP address. In this situation the VPN connection can be set up at both ends with the help of the LANconfig Setup Wizard. How to configure a VPN connection between 2 LANCOM routers by using the LANCOM 1-Click-VPN Wizard is described in the following KnowledgeBase document: Notes Link. Configuration option 2: The mobile provider gives your 3G/4G connection a private IP address. The connection to the Internet operates with a masked connection. In this case, the VPN connection establishment can be initiated by the 3G/4G router only. 1) At the end with the 3G/4G router, set up the VPN connection by using the LANCOM 1-Click-VPN Wizard. 2) Using the mouse, drag & drop the entry for the 3G/4G router onto the entry for the LANCOM VPN router with the fixed public IP address. This ensures that the 3G/4G router initiates the VPN connection.  3) In the next dialog you specify which local networks are to be reached.
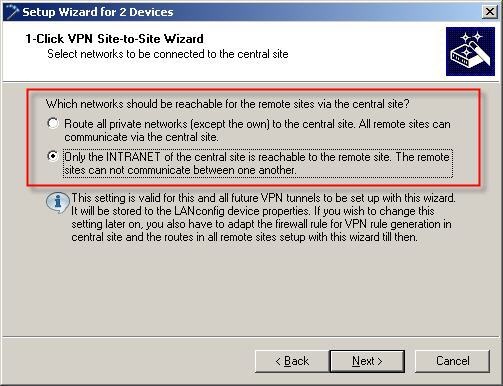 4) Click on Finish to conclude the configuration of the VPN connection and write the configuration back to the LANCOM router. 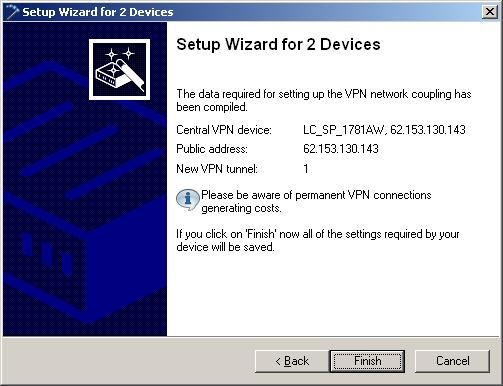 5) To ensure that the VPN connection is functional, manual changes to the configuration have to be carried out on both LANCOM routers. Information: Carry out the configuration steps 6 to 8 first on the 3G/4G router and then on the LANCOM VPN router. 6) Go to the menu Configuration-> VPN -> General and enable the option NAT traversal. 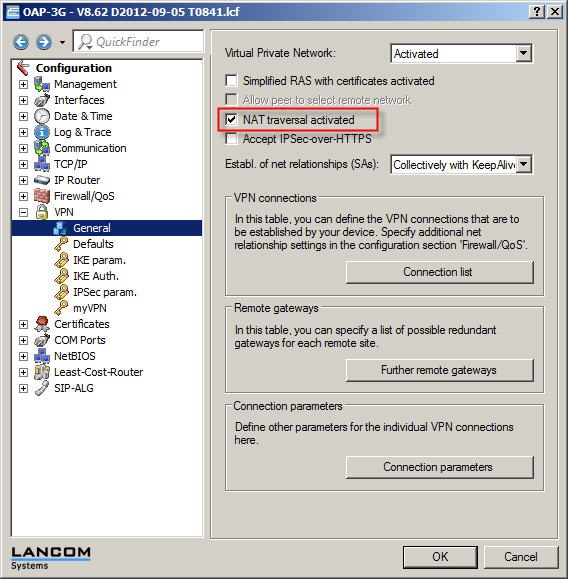 7) In the VPN connection list, open the entry for the VPN connection and change the value for the IKE exchange to the Aggressive mode. Additionally enable the option No dynamic VPN. 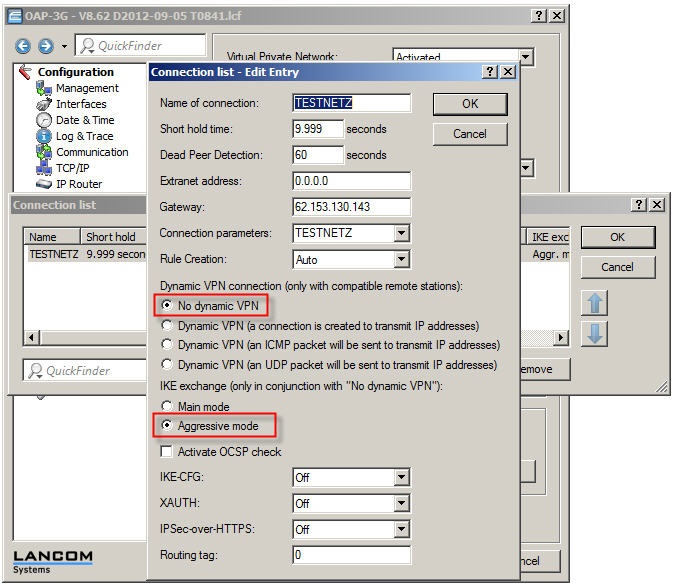 8) Under VPN → IKE-Auth. → IKE keys and identities configure a local and a remote identity for this VPN connection. 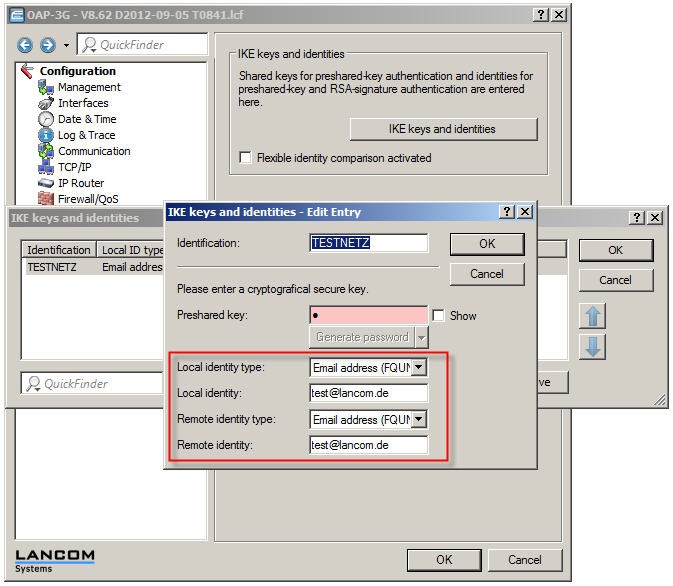 9) After you have repeated the configuration steps 6 through 8 on the LANCOM VPN router (LANCOM 1781AW), the VPN connection will be established from the 3G/4G router. 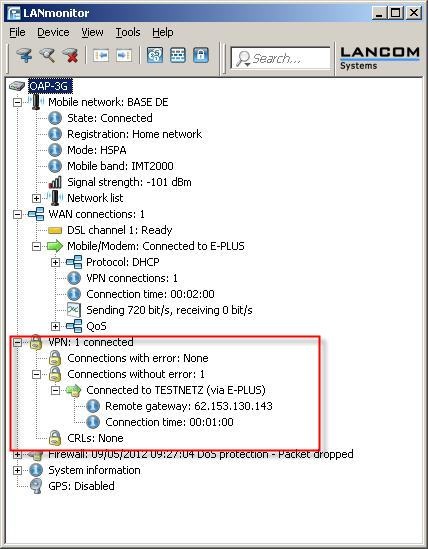 |