Description: In a Public Spot scenario, it may be desirable to create different Public Spot SSIDs for different user groups (e.g. normal and premium). For Public Spot vouchers to be created using the Setup Wizard, a separate administrator needs to be created for each SSID. This article describes how to use a “Circuit ID” to control which SSID a Public Spot user can connect to.
Requirements:
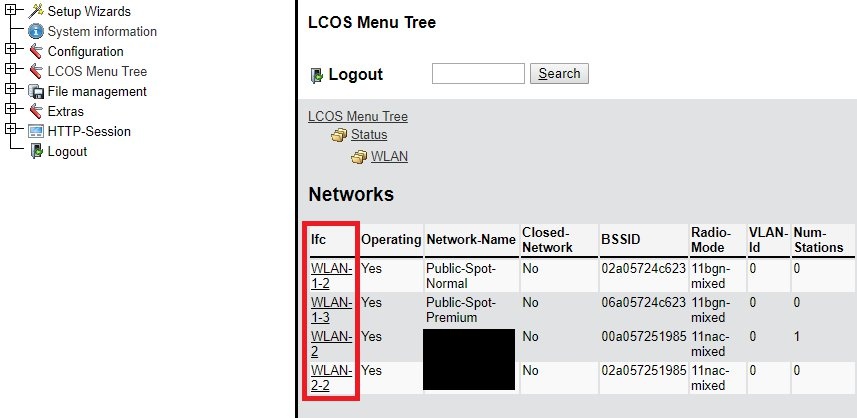
Configuration: 1) Check that the Public Spot SSID is assigned to the logical WLAN interface: 1.1) Connect to the web interface of the access point using a web browser and navigate to the path LCOS menu tree → Status → WLAN → Networks. 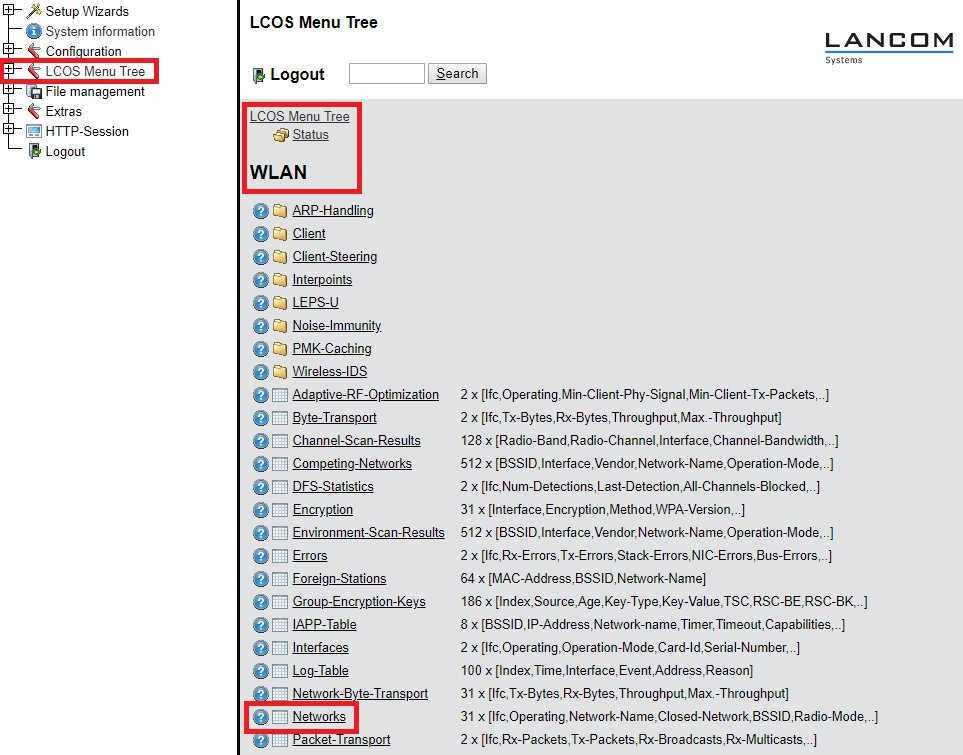 1.2) Check which logical interface (Ifc) the Public Spot SSIDs (Network Name) are assigned to.
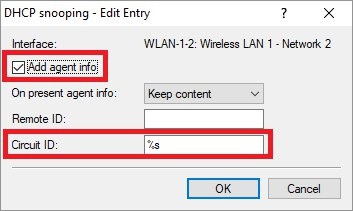
 2) Setting the Circuit ID under DHCP snooping: 2.1) Open the configuration for the access point in LANconfig and switch to the menu item Interfaces → Snooping → DHCP snooping. 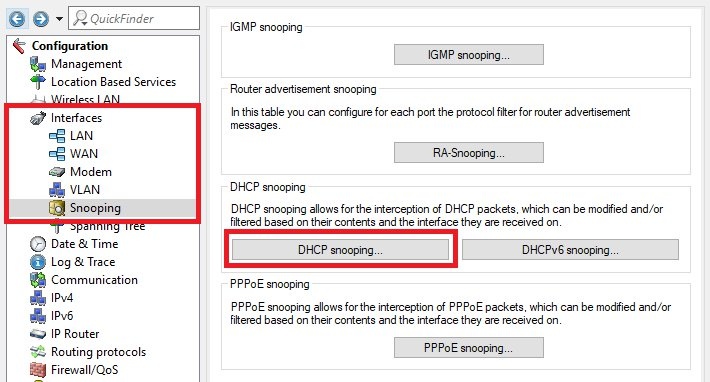 2.2) Select the logical WLAN interface (see step 1.2) and adjust the following parameters.
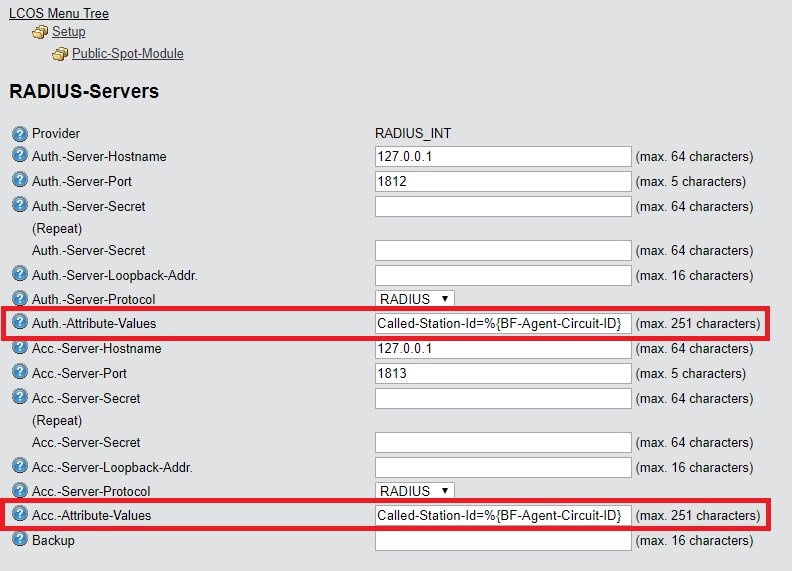
3) Add the called-station attribute in the Public Spot: 3.1) Connect to the web interface of the Public Spot gateway using a web browser and navigate to the path LCOS menu tree → Setup → Public-Spot-Module → RADIUS-Servers. 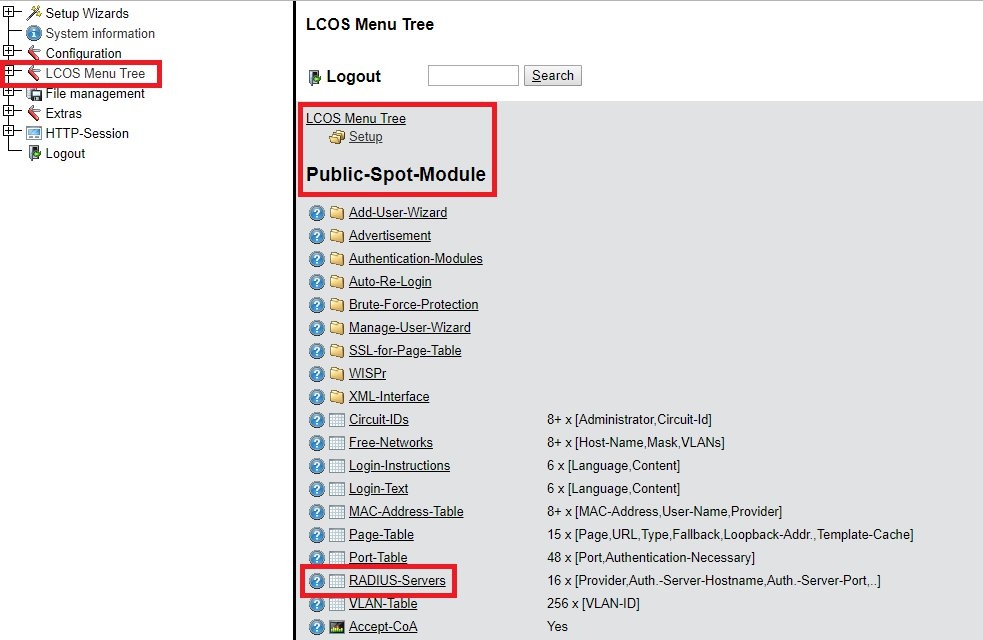 3.2) Edit the entry and save the following parameters:
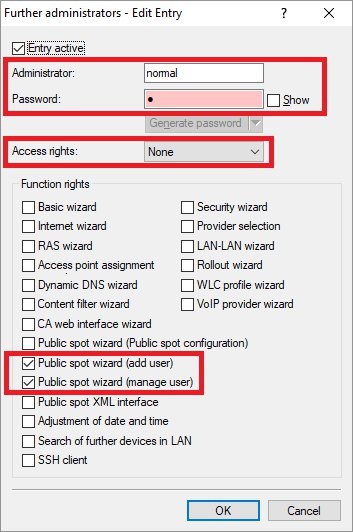
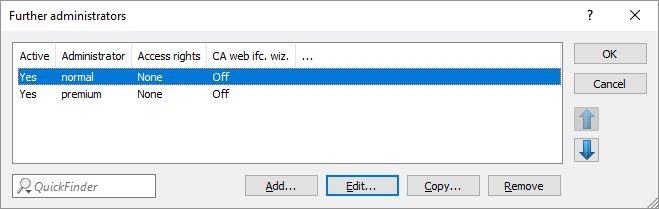
 4) Create two administrators who can create new Public Spot users: 4.1) Open the configuration for the Public Spot gateway in LANconfig and switch to the menu item Management → Admin → Further administrators. 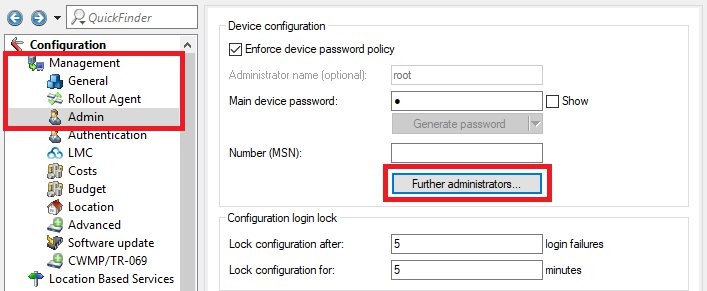 4.2) Create two new entries and modify the following parameters:
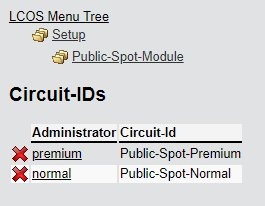
  5) Assign the Circuit ID for the Public Spot administrator: Each Public Spot administrator is able to create vouchers for a certain Public Spot SSID. 5.1) Connect to the web interface of the Public Spot gateway using a web browser and navigate to the path LCOS menu tree → Setup → Public-Spot-Module → Circuit-IDs.  5.2) Create two new entries and set the following parameters:
 6) Creating a Public Spot voucher with the Setup Wizard: 6.1) Connect to the Public Spot gateway using a web browser and log in as the appropriate Public Spot administrator (see step 4). 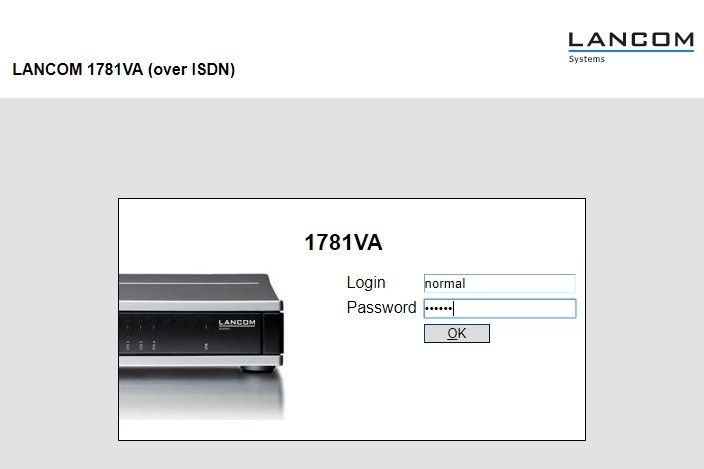 6.2) Now create the Public Spot vouchers in the usual manner. 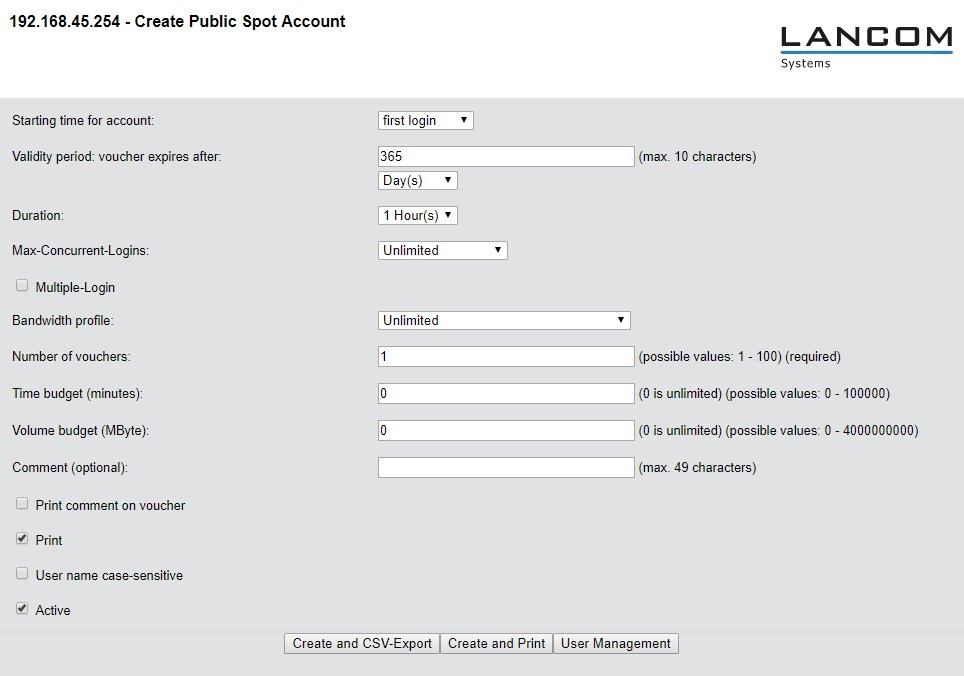 7) Manually assigning the Public Spot SSID for existing Public Spot vouchers (optional):
7.1) Open the configuration for the Public Spot gateway in LANconfig and switch to the menu item RADIUS → Server → User table. 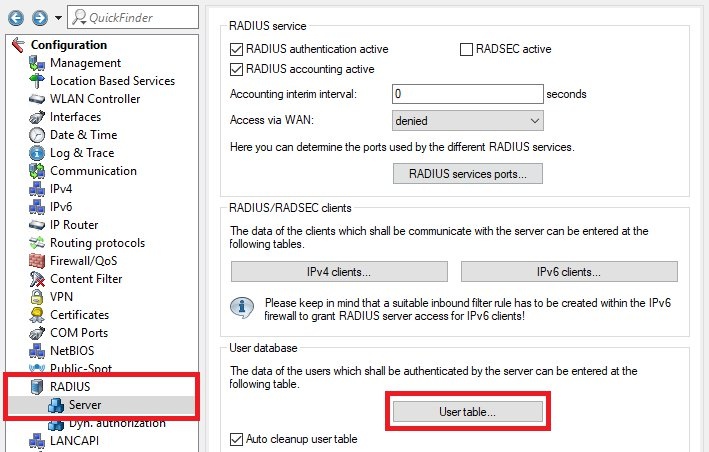 7.2) Edit the appropriate voucher and set the called station to the Public Spot SSID (see step 1.2). 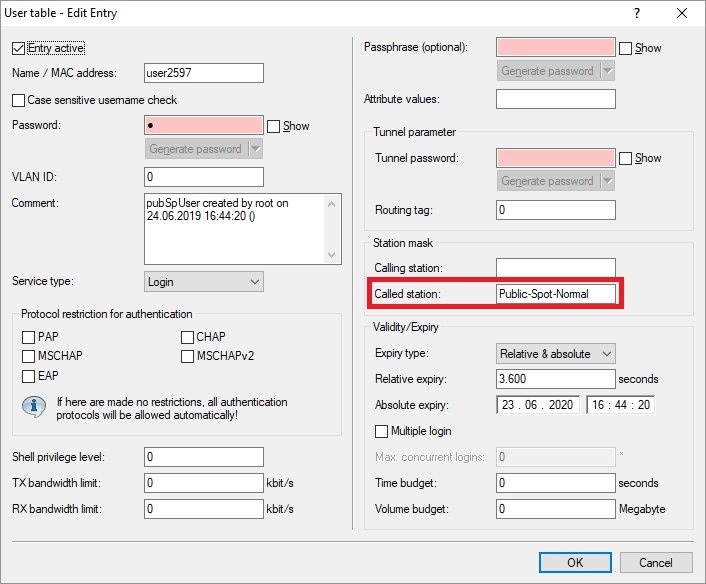 |