Description: This document describes how you configure a certificate-based WLAN connection with 802.1X authentication in a LANCOM WLC scenario. Requirements:
Scenario: 1) A company manages their WLAN infrastructure with a LANCOM WLAN controller.
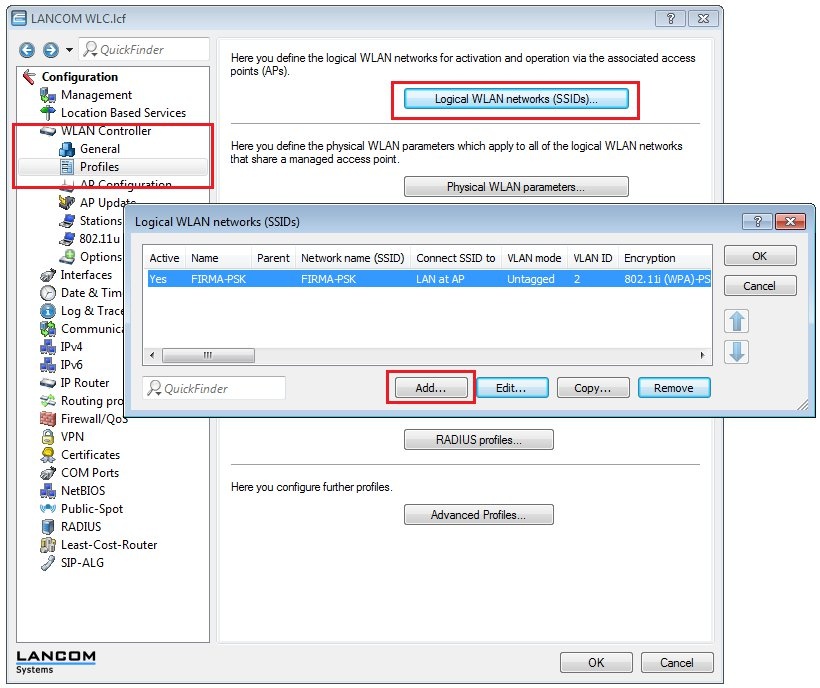
2) The existing scenario is to be extended with an additional WLAN network that requires the clients to authenticate themselves by 802.1X. 3) This configuration example uses the internal RADIUS server on the WLAN controller as the authentication server. In other words, the WLAN controller is both authenticator and authentication server. 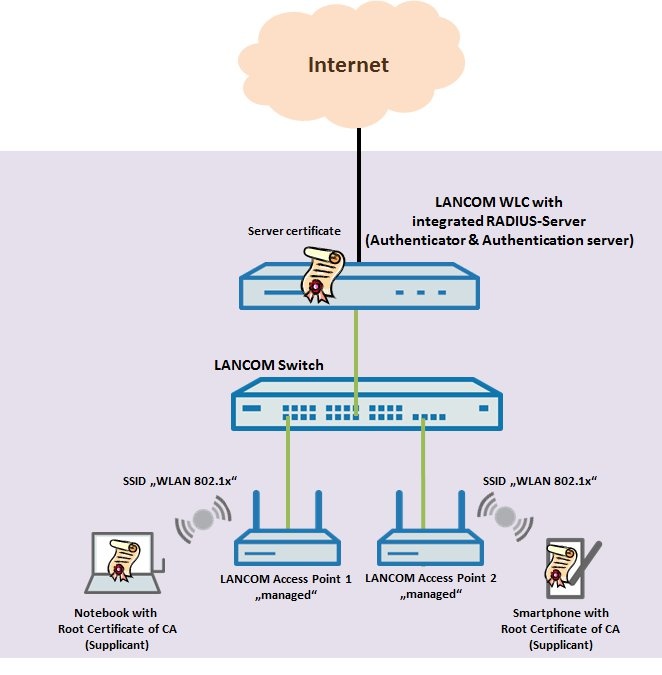 Procedure: 1) Create the certificates for 802.1X authentication 1.1) To create the certificates, follow the procedure described in this Knowledge Base article. 1.2) Once this step of the configuration is complete, you should have two certificate files in the *.p12 file format; one for the WLAN controller (TLS server) and one for the WLAN client (TLS client). 2) Upload the certificate file to the LANCOM WLAN controller 2.1) Upload the certificate file to the WLAN controller in the manner described in this Knowledge Base article. 3) Create the 802.1X WLAN network on the LANCOM WLAN controller 3.1) Open the configuration of the WLAN controller in LANconfig and navigate to the menu WLAN controller → Profiles → Logical WLAN networks (SSIDs). 3.2) Create a new list entry using the Add button.
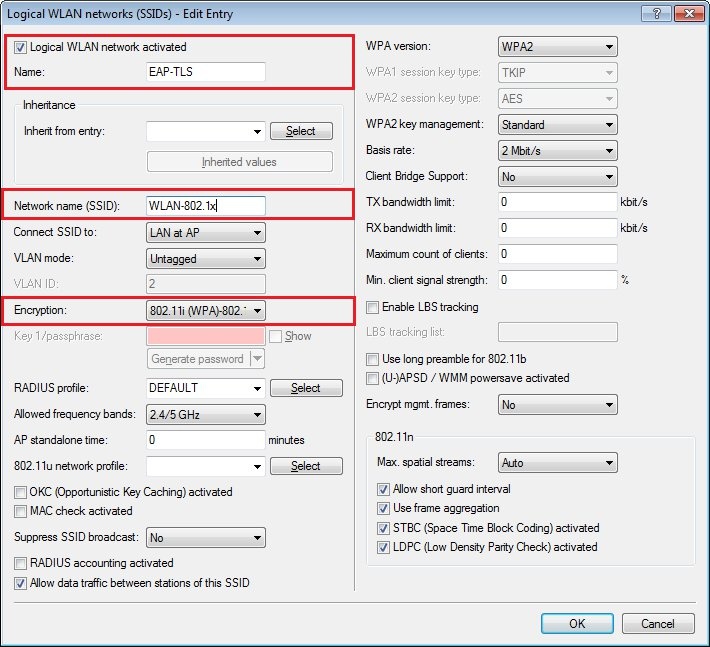
3.3) In the Name field, enter a descriptive name for this entry. 3.4) In the network name field you enter a descriptive name for the SSID that is broadcast. In this example, the SSID WLAN 802.1X is broadcast. 3.5) Set the Encryption option to 802.11i(WPA)-802.1X. 3.6) In this example, we will leave all of the other configuration parameters in this dialog at their default settings.
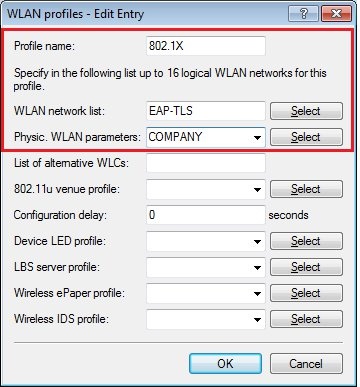
3.7) Close the configuration dialog with OK and navigate to the menu WLAN controller → Profile → WLAN profiles. 3.8) Create a new list entry using the Add button.
3.9) In the Profile name field, enter a descriptive name for the new WLAN profile. 3.10) In the field WLAN network list, select the logical WLAN network that you created in step 3.2. 3.11) In the field Physic. WLAN parameters, set the available profile for the physical WLAN parameters.
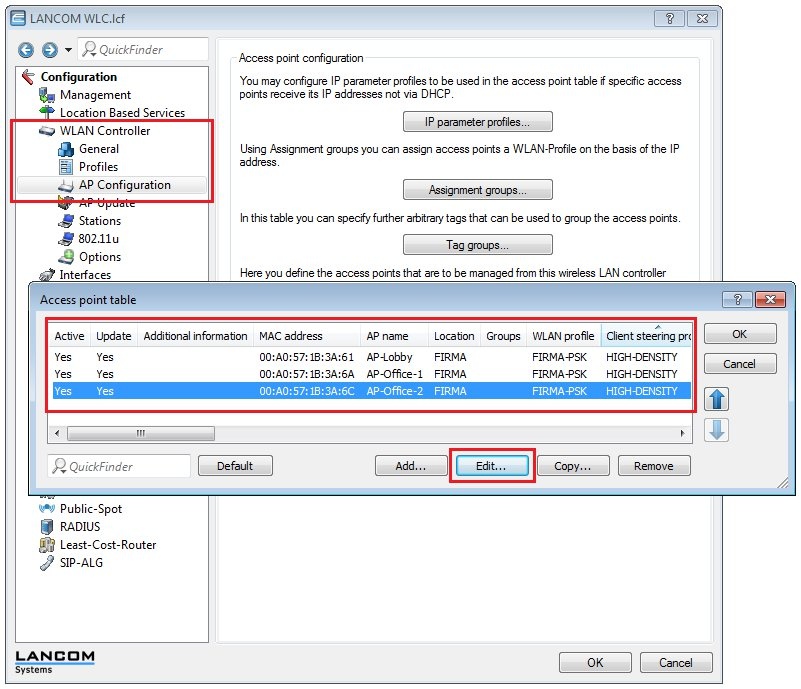
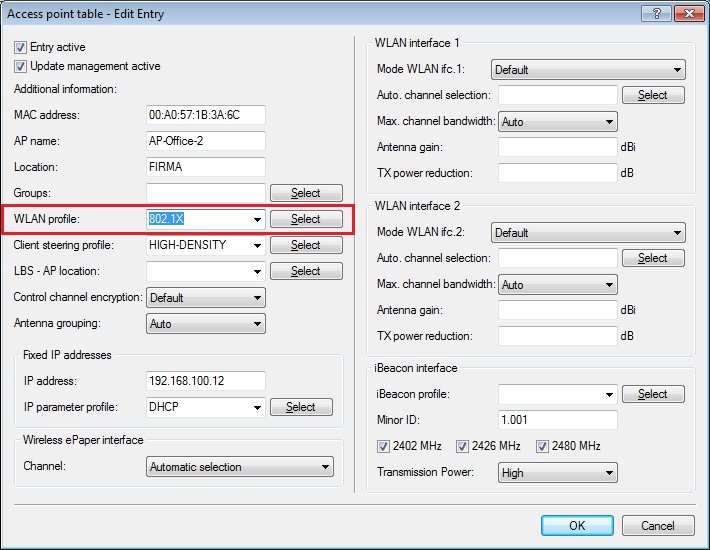
3.12) Navigate to the menu item WLAN controller → AP configuration → Access point table. 3.13) For the access points that will broadcast the SSID with the 802.1X authentication, you need to make a change in the respective list entry.
3.14) For the WLAN profile parameter, set the WLAN profile created for the 802.1X authentication in step 3.8.
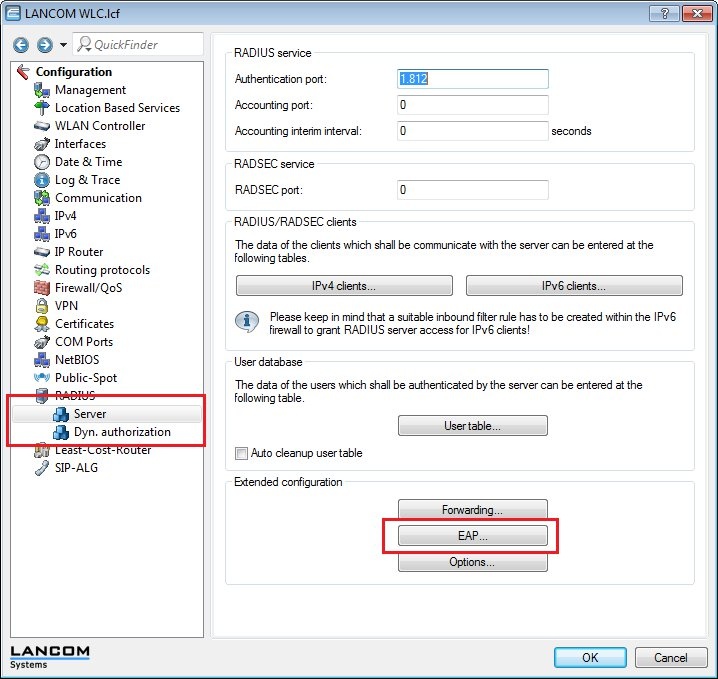
3.15) Repeat these steps for further access points, if applicable. 3.16) Close the dialog with OK and write the configuration back to the WLAN controller. 4) Enable the RADIUS server and EAP authentication on the LANCOM WLAN controller 4.1) In LANconfig, open the configuration dialog for the WLAN controller and switch to the menu item RADIUS → Server. 4.2) In the Authentication port field, enter the value 1812.
4.3) Click the EAP button.
4.4) Set the Default method for EAP authentication to the value TLS.
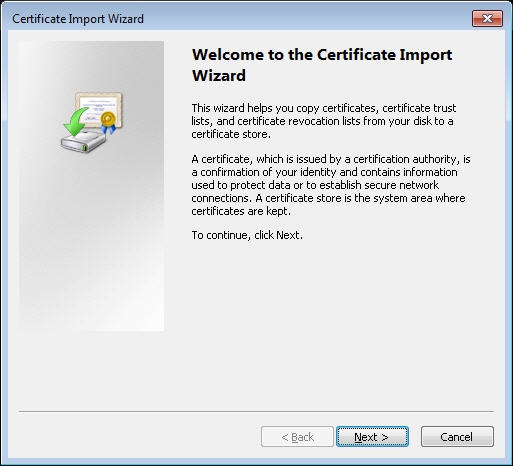
4.5) Close the dialog with OK and write the configuration back to the WLAN controller. This concludes the configuration of the LANCOM WLAN controller. 5) Configuration steps on a WLAN client running a Windows operating system 5.1) Double-click on the client certificate file. 5.2.) Click on Next.
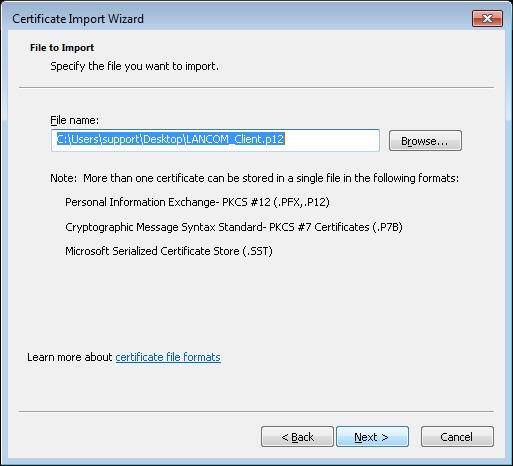
5.3) Check the path to the client certificate file and accept it by clicking on Next.
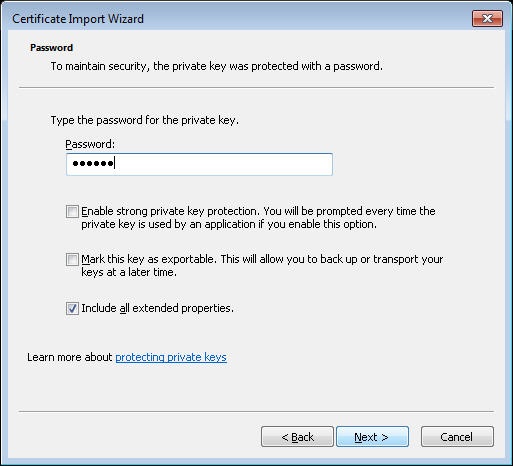
5.4) Enter the password used to protect the private key of the certificate. The password for our example certificate is lancom.
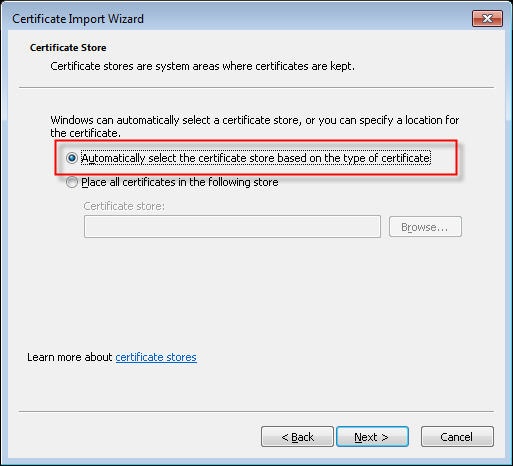
5.5) Leave the setting on Automatically select the certificate store, and click on Next.
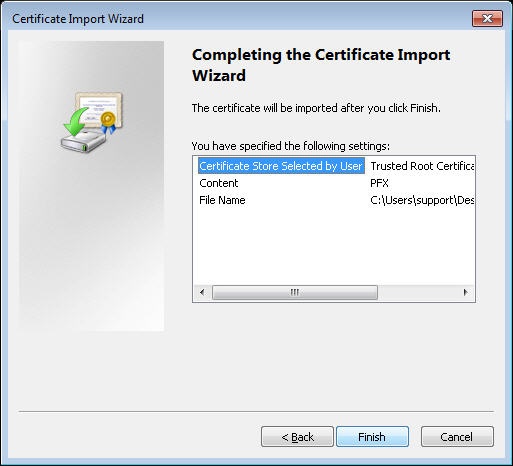
5.6) Click on Finish to conclude the import of the certificate.
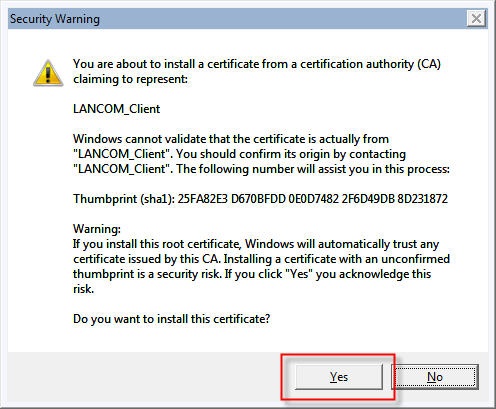
5.7) Confirm the subsequent security warning with Yes.
5.8) A message is displayed to indicate that the certificate was successfully imported.
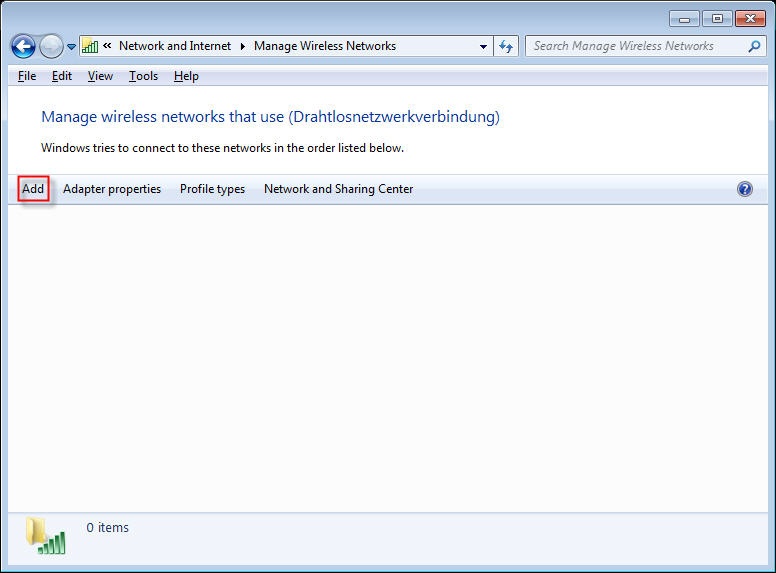
5.9) Open the Manage Wireless Networks dialog and click on Add.
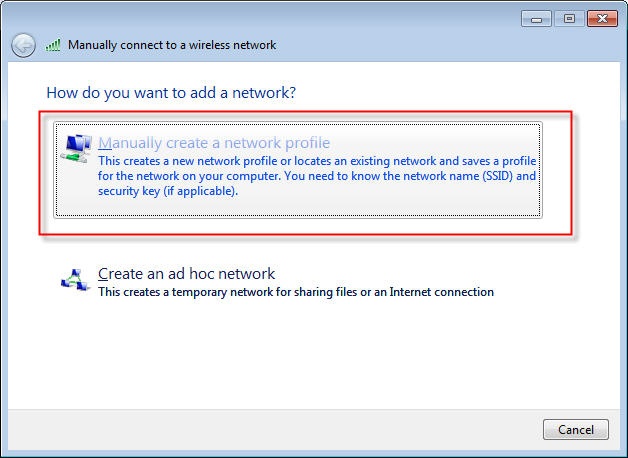
5.10) In the subsequent window select the option Manually create a network profile.
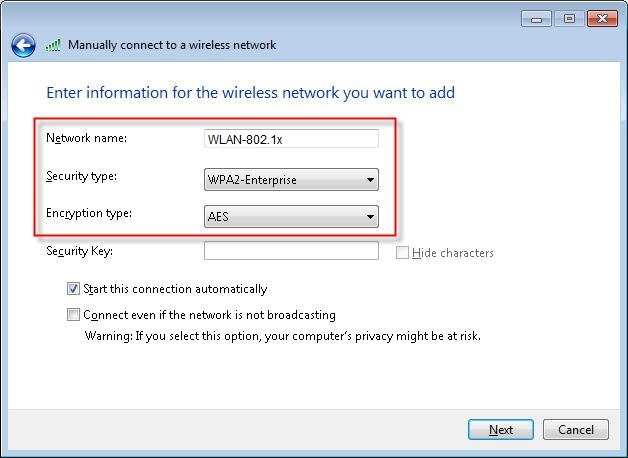
5.11) In the Network name field, type in the name WLAN-802.1X. Set the value for Security type to WPA2-Enterprise and the Encryption type to AES. Click on Next.
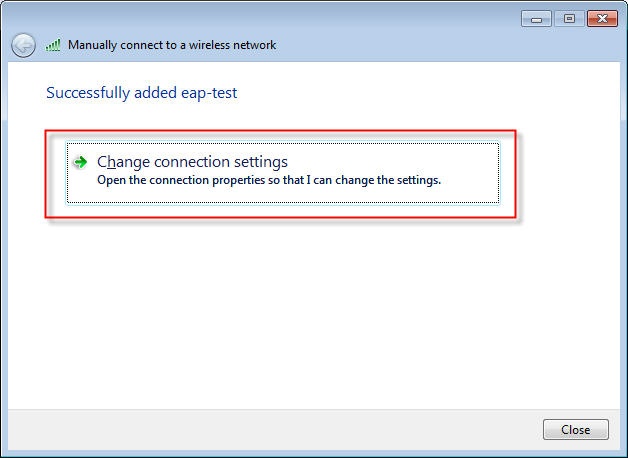
5.12) In the subsequent window click on Change connection settings.
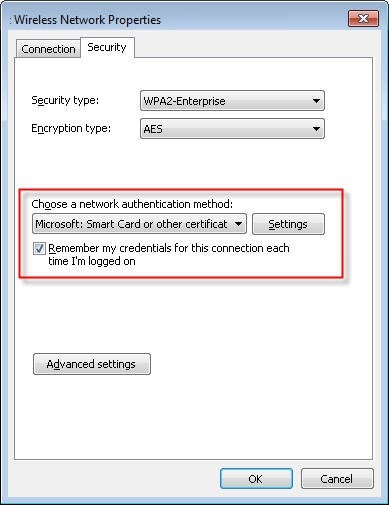
5.13) Switch to the Security tab in the properties dialog. 5.14) As method for network authentication select Microsoft: Smart Card or other certificate. 5.15) Then click the Properties button.
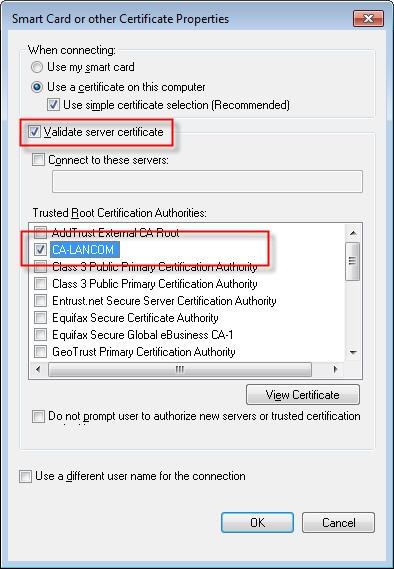
5.16) Enable the option Validate server certificate and set the Trusted Root Certification Authority to CA-LANCOM.
5.17) Click OK to accept your settings. A further click on OK in the Properties window completes the configuration of the WLAN connection to the network WLAN-802.11X. This concludes the configuration. 6) Configuration steps on a WLAN client running an Android operating system 6.1) Upload the TLS client certificate to the storage in the Android device. 6.2) Navigate to the menu Settings → Security menu and, under Credential storage select the option Install from device storage. 6.3) Select the certificate file you uploaded and enter the password for the certificate file. 6.4) In the following dialog, assign any certificate name. Set the Credential use to Wi-Fi. Click on OK to conclude. 6.5) Access the Android client's list of WLAN networks and tap the 802.1X WLAN. In the configuration dialog, select the following parameters:
6.6) Click Save and then connect to the WLAN network. |