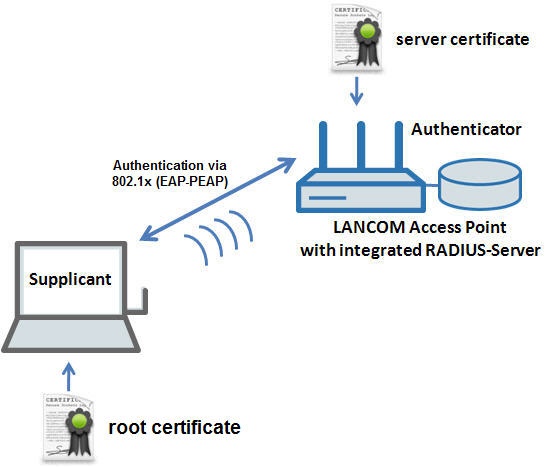
This document describes how to set up a certificate-based WLAN connection (802.1x) where the authentication between the WLAN client and LANCOM Access Point is performed using the Extensible Authentication Protocol (EAP) and the ProtectedExtensibleAuthenticationProtocol(PEAP)method of authentification.
For EAP-based authentication, a RADIUS serveris always required to act as an authentication server. Since all LANCOM access pointsand WLAN routershave an integrated RADIUS server, this document assumes that the RADIUS server in the LANCOM access point is used as the authentication server. Consequently, the access point is both the authenticator and the authentication server.
WPA/802.1x is often referred to as WPA Enterprise.
Valid X.509 server certificate and root certificate of the CA.
Scenario:
Image Removed
Image Added
Example certificates:
This configuration example uses an X.509 certificate for the RADIUS module of the access point (LANCOM_Router.p12). On the client, the root certificate of the CA(CA-LANCOM.cer) is required. Both certificates are valid for 10 years.
The passwordused in the sample certificateand in the root certificate of the CAis lancom.
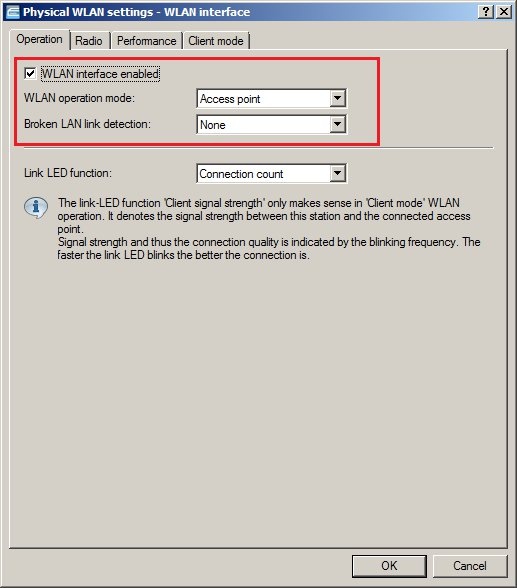
1) Open the LANCOM access point configuration in LANconfig and select Configuration -> Wireless LAN -> Physical WLAN settings.
2) Enablethe WLAN interfaceon the Operationtab.
Information: In this exampleall other settings for the physical WLAN interface are left on the default settings. However, you can change these to match your requirements.
3) Click on the OKbutton to accept your settings.
Image Removed
Image Added
4) Switch to the menu Configuration -> Wireless LAN -> Logical WLAN settings-> WLAN network 1.
5) Enable logical WLAN network 1and enter a unique name for the WLAN network in the Network name(SSID)field. This example uses the name EAP-PEAP-Test.
6) Click on the OKbutton to accept your settings.
Image Removed
Image Added
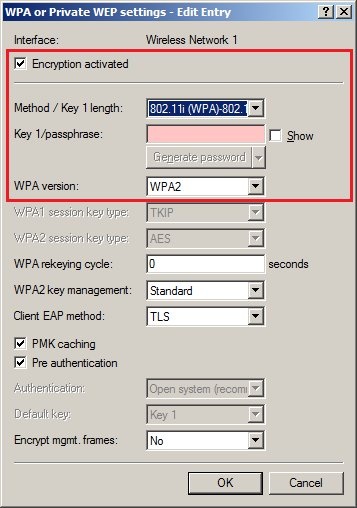
7) Switch to the menu Configuration -> Wireless LAN -> 802.11i/WEP -> WPA or Private WEP settings...
8) Open the entry for Wireless network 1.
9) Set the value of field Method/Key 1 lengthto 802.11i(WPA)-802.1x.
10) The Key1/passphrasefield must be left blank.
11) Click on the OKbutton to accept your settings.
Image Removed
Image Added
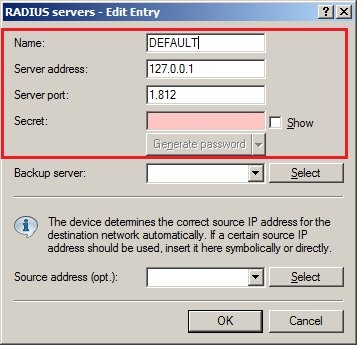
12) Switch to the menu Configuration -> Wireless LAN -> 802.1x -> RADIUS server...
13) Click on the Default serverbutton.
14) In the subsequent dialog enter into the Server IP addressfield the internal host address (127.0.0.1) of the LANCOM access point that acts as the RADIUS server. The Server portfield must contain the authentication port of the internal RADIUS server (1812).
Info
If you use the internal host address of the RADIUS server as the server IP address, no sender address may be used (see screenshot).
15) Click on the OKbutton to accept your settings.
Image Removed
Image Added
16) Go to the following menu: Configuration-> RADIUS server.
17) Enter the value for the Authentication portof the internal RADIUS server (1812).
Image Removed
Image Added
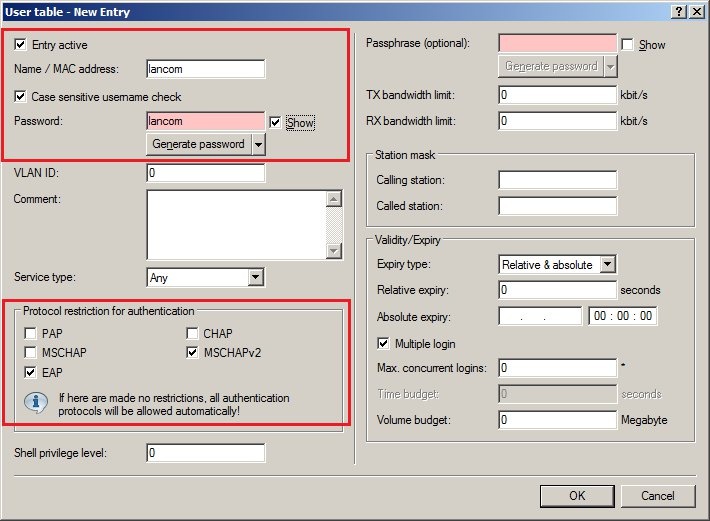
18) Click on the User table button and add one or more users to the list. In this example, a user with the User name lancom and the Password lancomis being created.
19) In Protocol restriction for authentication, select MSCHAPv2and EAP.
Image Removed
Image Added
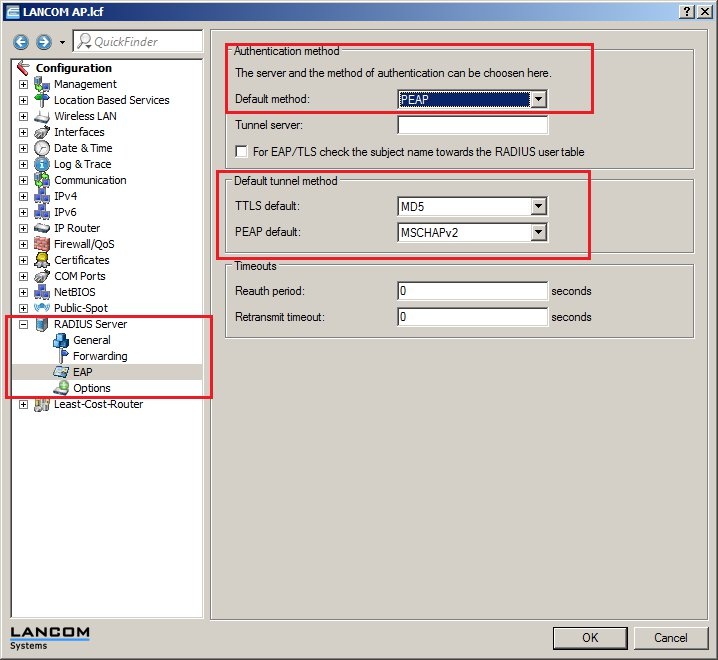
20) Go to the EAPtab.
21) In the Default methodselection box select the value PEAP.
22) In the selection box for PEAP default, set the value to MSCHAPv2.
Image Removed
Image Added
23) Click on OKto accept the settings and to save them to the LANCOM access point.
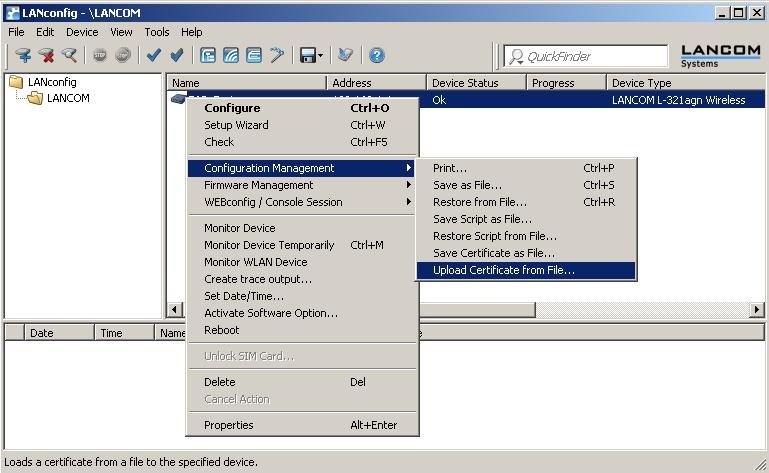
24) In LANconfig, right-click on the LANCOM access point and select the option Configuration management -> Upload a certificate from file...
Image Removed
Image Added
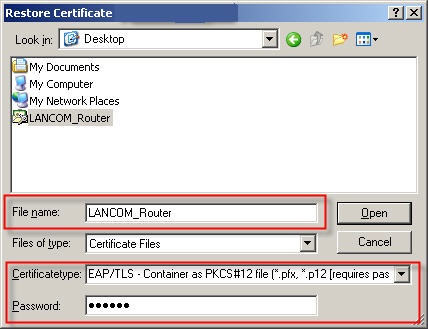
25) In the following dialog, select the certificate file for the LANCOM access point. This example uses the name LANCOM_Router.p12.
26) In the Certificate type box, select the setting EAP/TLS - container as a PKCS#12 file.
27) In the Password field, enter the certificate password. The password in this example is lancom.
28) Click on Opento load the certificate into the LANCOM access point.
Image Removed
Image Added
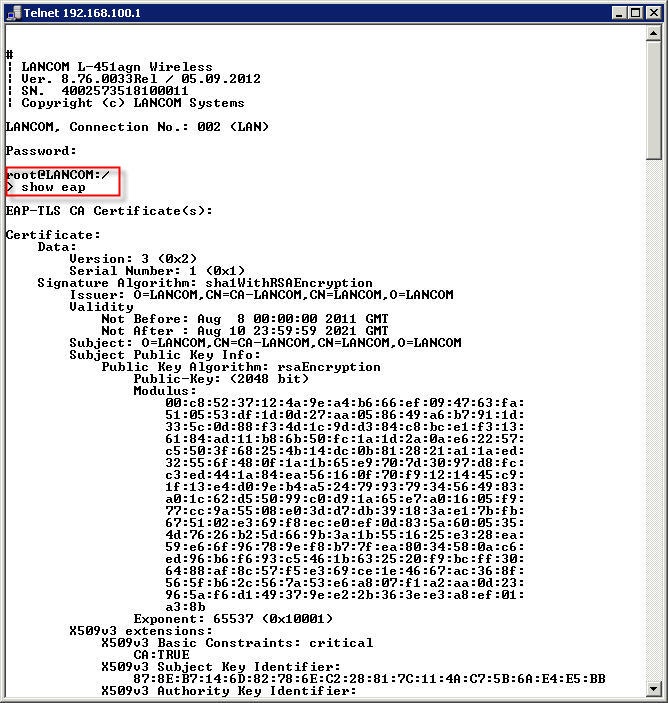
29) This concludes the configuration of the LANCOM access point. Information:
You can view the certificate that you loaded into the LANCOM access point by starting a
Telnet or SSH session
on the LANCOM access point and entering
show eap
at the command prompt.
Image Removed
Image Added
Configuration steps on the WLAN client:
Importing the client certificate into Windows:
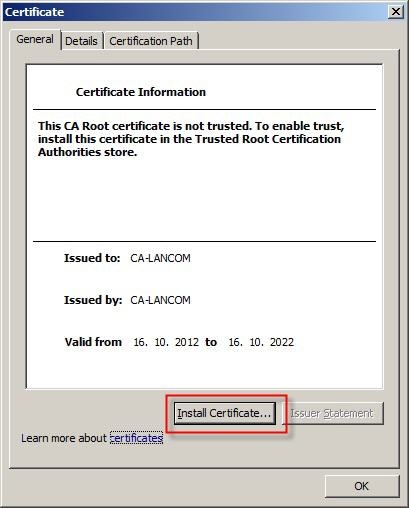
1) Double click on the Root certificate of the CA. This example uses the CA-LANCOM.cerfile.
2) Click on Install certificate.
Image Removed
Image Added
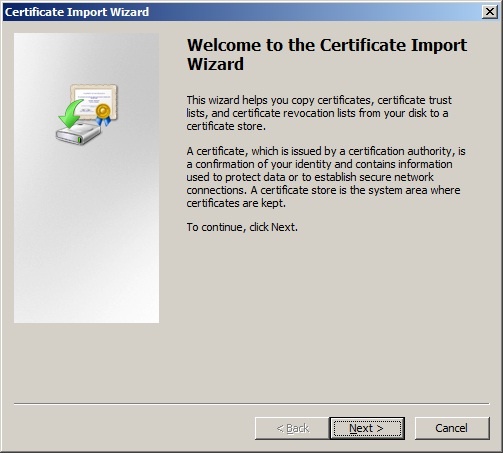
3) Click on Next.
Image Removed
Image Added
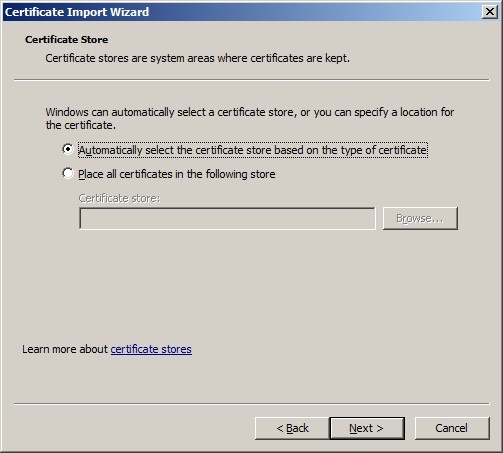
4) Leave the setting on Automatically select the certificate store, and click on Next.
Image Removed
Image Added
5) Click on Finishto conclude the import of the certificate.
Image Removed
Image Added
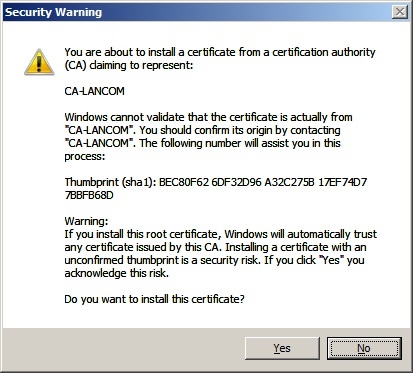
6) Confirm the subsequent security warning with Yes.
Image Removed
Image Added
7) A message is displayed to indicate that the certificate has been successfully imported.
Image Removed
Image Added
Setting up the WLAN connection in Windows:
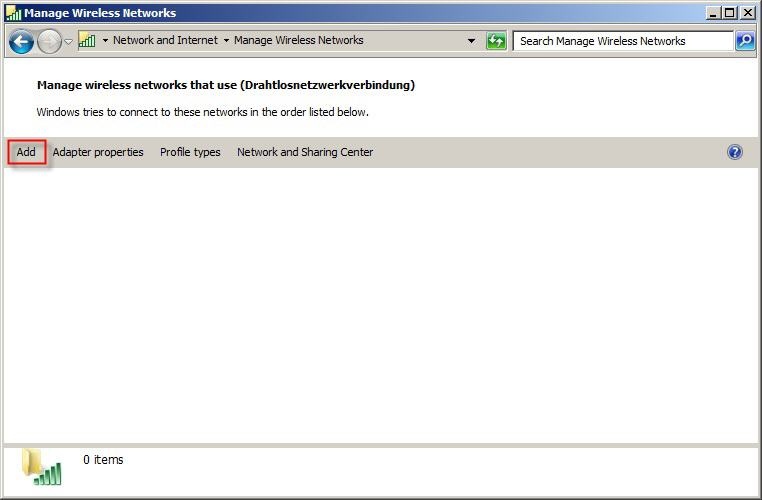
1) Open the Manage Wireless Networks dialog and click on Add.
Image Removed
Image Added
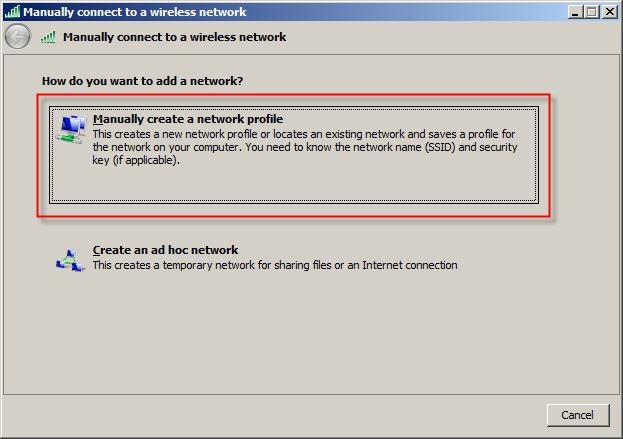
2) In the subsequent window select the Manually create a network profileoption.
Image Removed
Image Added
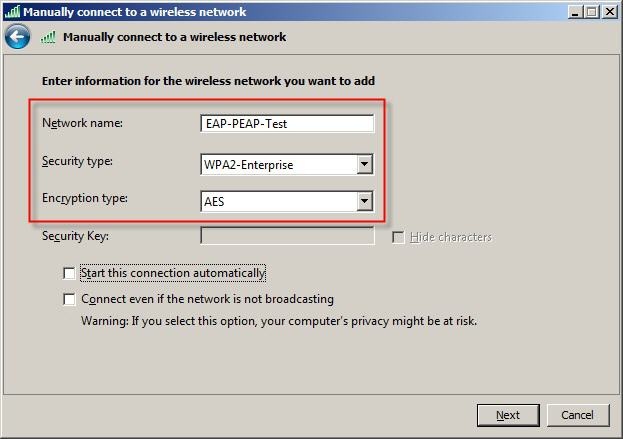
3) In the network namefield, you have to enter the name EAP-PEAP-Test.The values for Security typeand Encryption type must be set to WPA2-Enterpriseand AES, respectively. To continue, click on Next.
Image Removed
Image Added
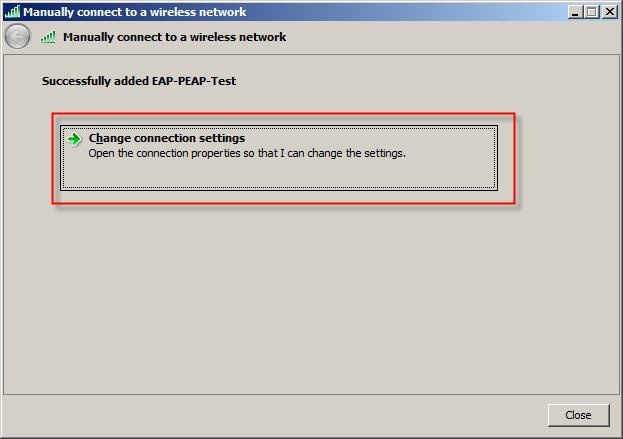
4) You must click on Change connection settingsin the subsequent window.
Image Removed
Image Added
5) On the Securitytab, the EAP type Microsoft: Protected EAP (PEAP)must be set. Now click on the Settingsbutton.
Image Removed
Image Added
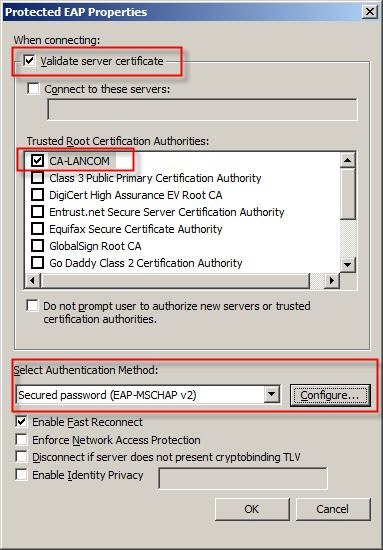
6) Check the Validate server certificateoption and then select the relevant Trusted Root Certification Authority for the certificate from the list in the box below. In our example this is CA-LANCOM. For the Authentication method select Secure password (EAP-MSCHAPv2).
Image Removed
Image Added
7) Now click on the Configurebutton.
Image Removed
Image Added
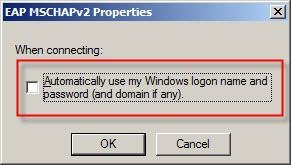
8) Disablethe option Automatically use own Windows logon name and password.
Image Removed
Image Added
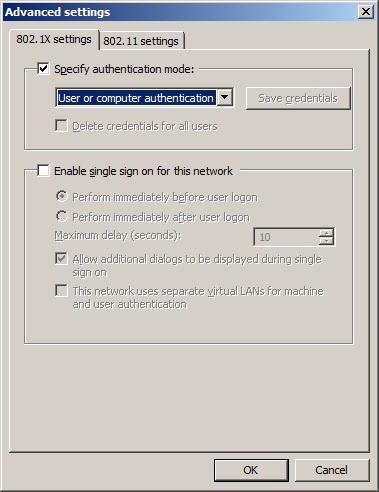
9) Click on the Advanced settingsbutton.
10) Enable the Specify authentication modeand choose User or computer authentication.
Image Removed
Image Added
11) Click on the OKbutton to accept your settings.
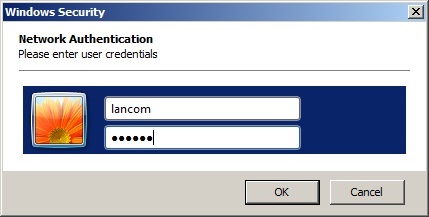
12) In the network list, click on Connect.
13) In the following dialog, the user data created in step 18 of the LANCOM configurationhave to be entered. In this example the user name lancomand the password lancommust be used.
Image Removed
Image Added
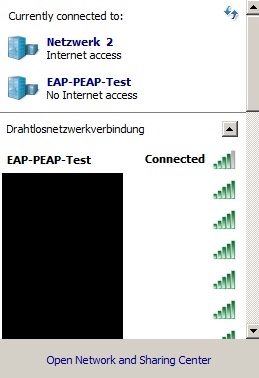
14) Click on the OKbutton. The WLAN connection is established now. This concludes the configuration process.