Mail address and specify a Preshared Key.
| Hinweis |
|---|
Entering the FQUN as an E-Mail address (in this example vpn@lancom.de) is mandatory as the integrated macOS VPN client will otherwise use the identity type "Fully Qualified Domain Name" (FQDN) (based on this example vpn@lancom). |
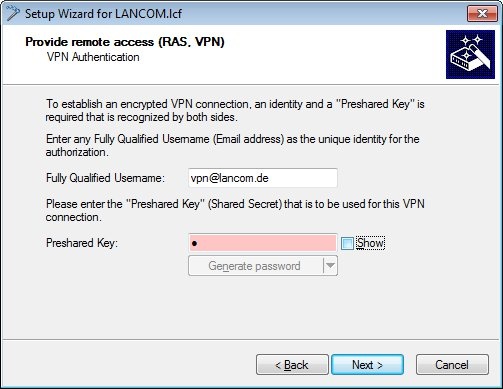 Image Modified
1.8) Here you specify the local IP address to be allocated to the Apple device for its VPN connection.
 Image Modified
1.9) The following item optionally allows you to limit the access of the Apple device VPN client to certain networks.
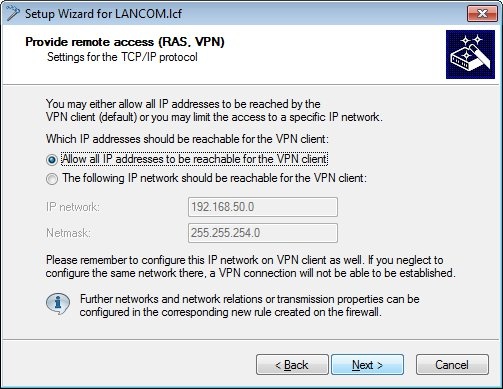 Image Modified
1.10) Deactivate the option to Store profile as LANCOM Advanced VPN Client import file.
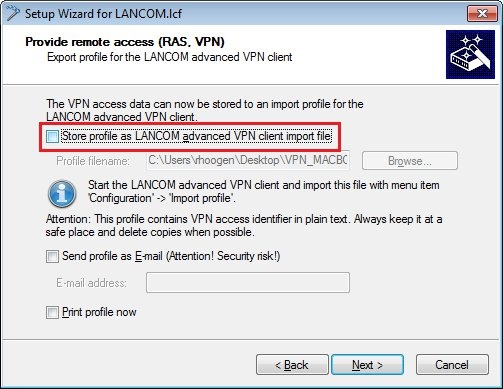 Image Modified
1.11) This completes the initial configuration with the Wizard. Close the final dialog window by clicking on Finish.
 Image Modified
2) Configuring the VPN client in MacOS X as of version 10.11 El Capitan:
2.1) In the Network configuration dialog window, click on the + button (marked red in the figure below) and select the option VPN type IKEv2.
2.2 Enter the following in the fields server address and local and remote identity (see step 1.7).
2.3) Click the Authentication settings... button.
2.4) Select the option None and enter into the field Key ("shared secret") the character combination that you specified in step 1.7 of the LANCOM configuration.
2.5) Click on the OK button to accept your settings.
2.6) Click on the Connect button to establish the VPN connection.
2.7) The VPN client has now been successfully configured.