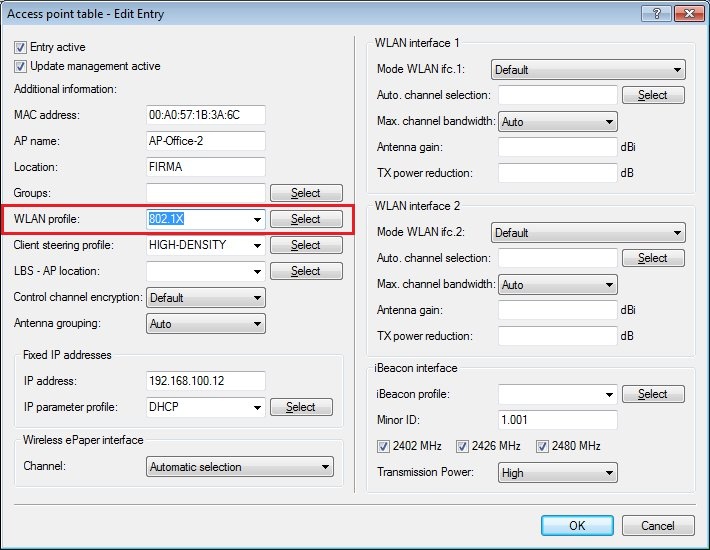
with OK and write the configuration back to the WLAN controller.
This concludes the configuration of the LANCOM WLAN controller.
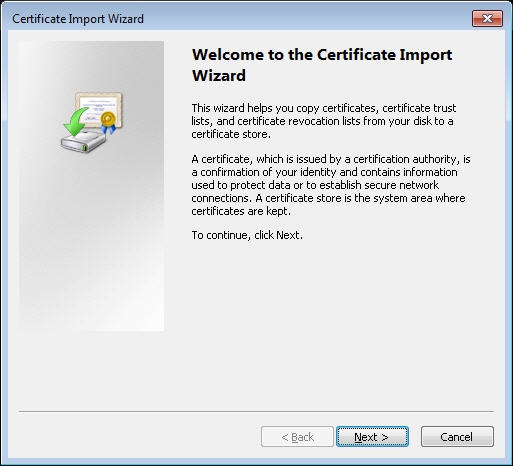
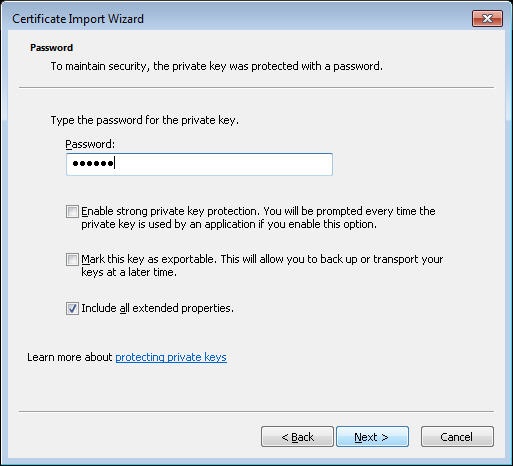
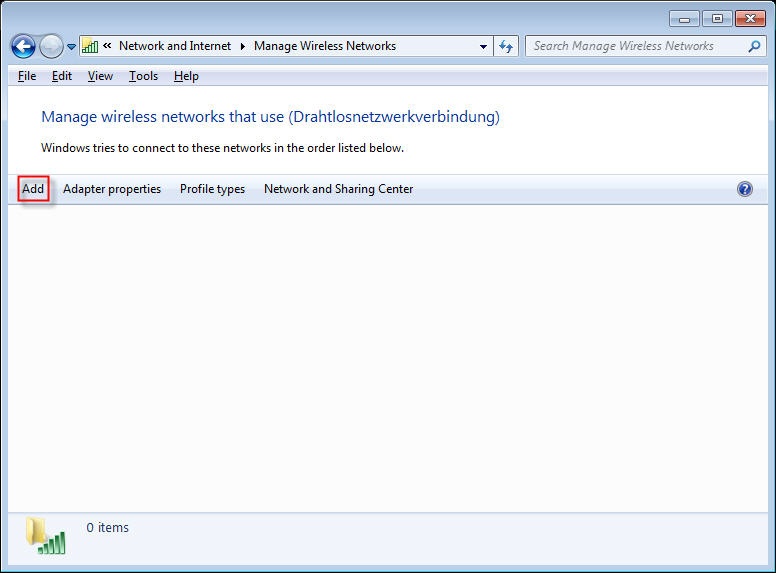
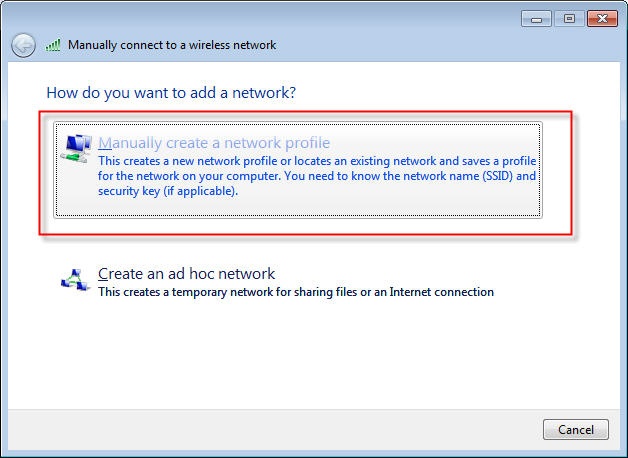
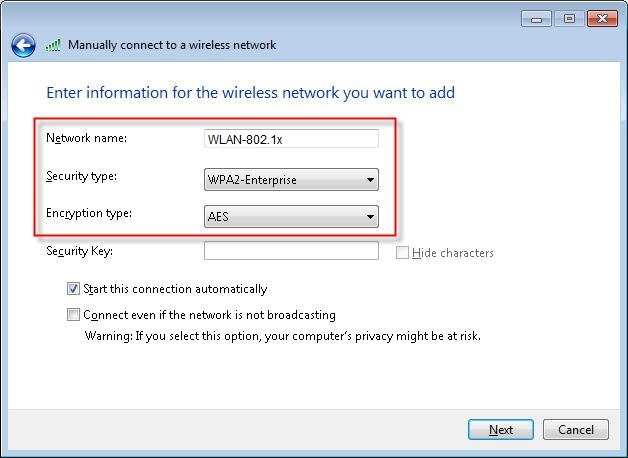
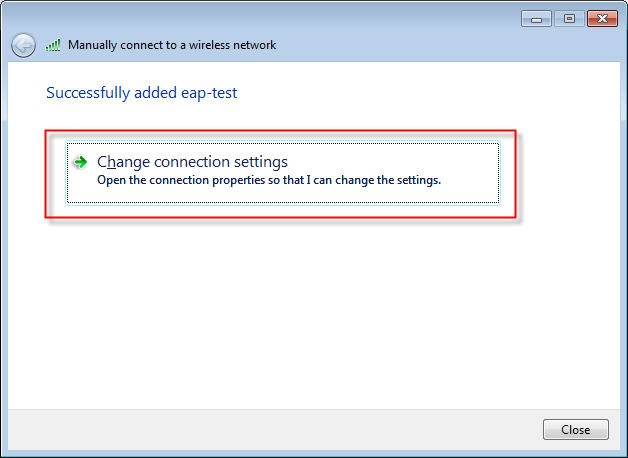
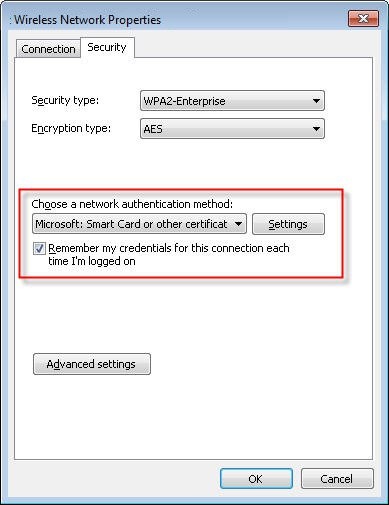
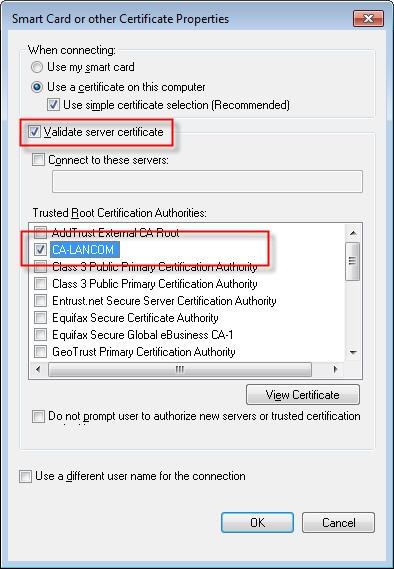
5) Configuration steps on a WLAN client running a Windows operating system
5.1) Double-click on the client certificate file.
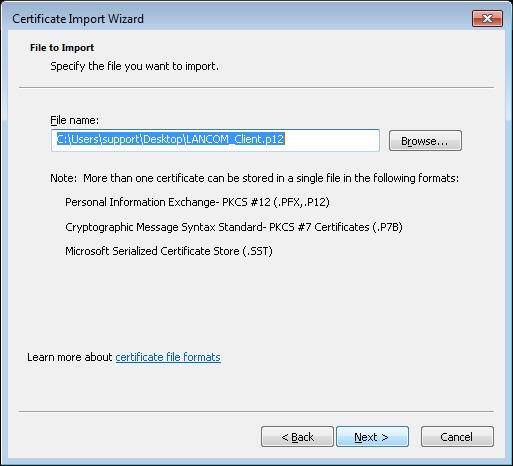
5.2.) Click

 )
)
 )
) )
)