changes.mady.by.user LANCOM Redaktion
Gespeichert am Okt. 25, 2019
Gespeichert am Feb. 21, 2024
Image Added
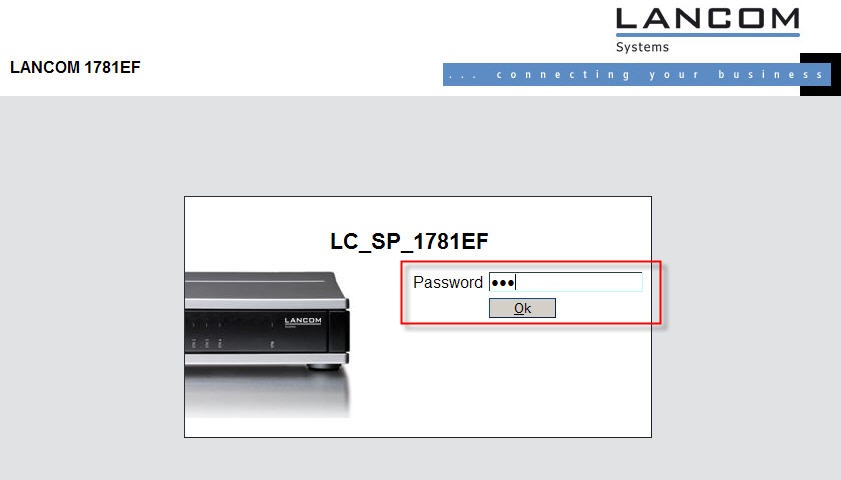
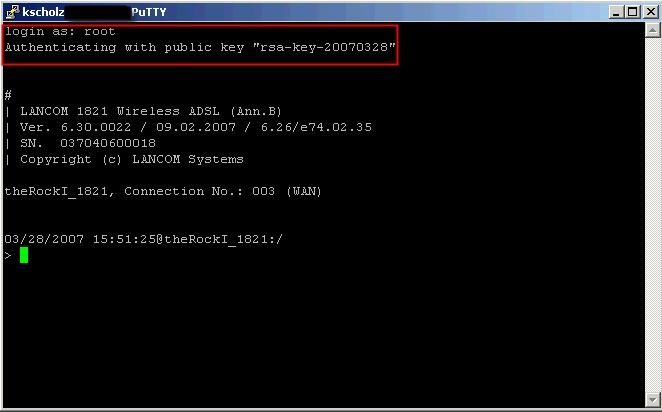
16) Login as the
user root. Authentication now takes place using the public key.