| Seiteneigenschaften |
|---|
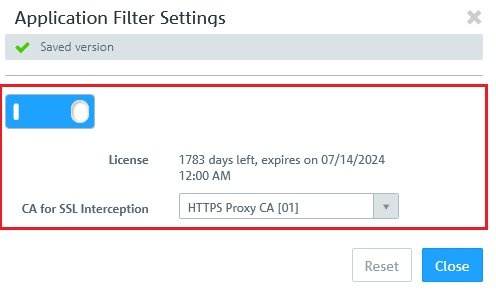
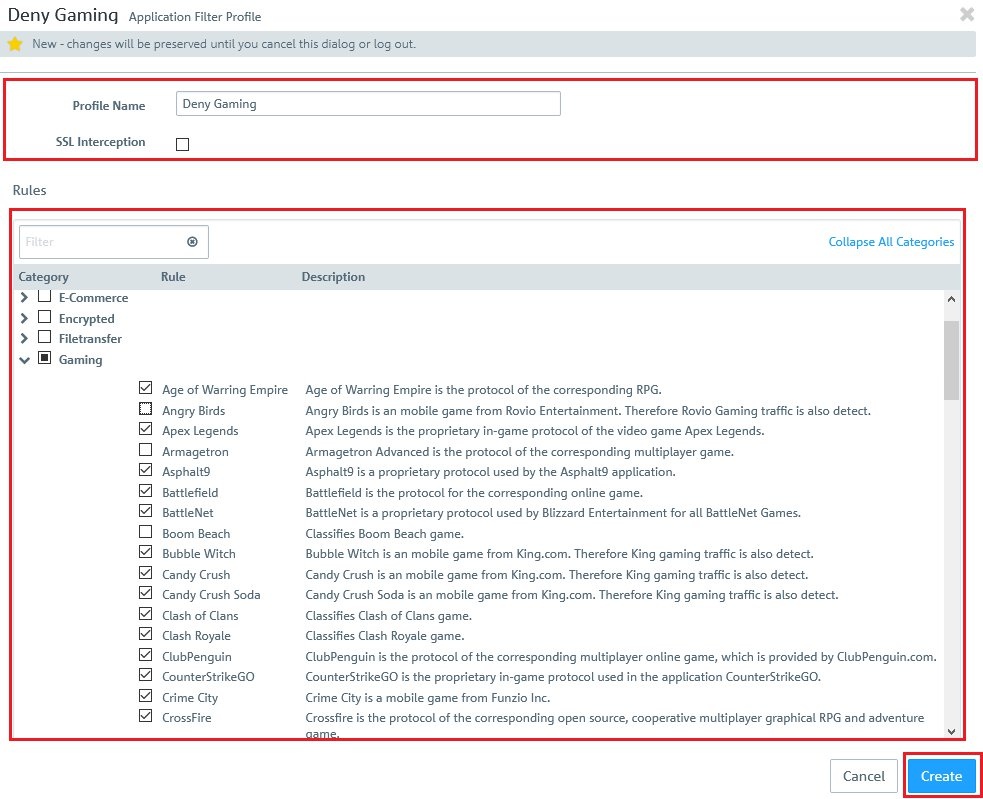
This document describes the steps you need to take to configure the Application Filter in a LANCOM R&S®Unified Firewall. Important notice:
 )Any web browser for access to the web interface of )Any web browser for access to the web interface of
The Application Filter with SSL interception is not applied to traffic passing through the transparent proxy (see step 1.2 in the following document  ). ).
|