The first step when generating a trace is to create a configuration which defines the LANCOM router parameters for monitoring. Requirements:
Procedure:
1) In LANconfig, right-click on the device entry and, from the context menu, select the option Create trace output.
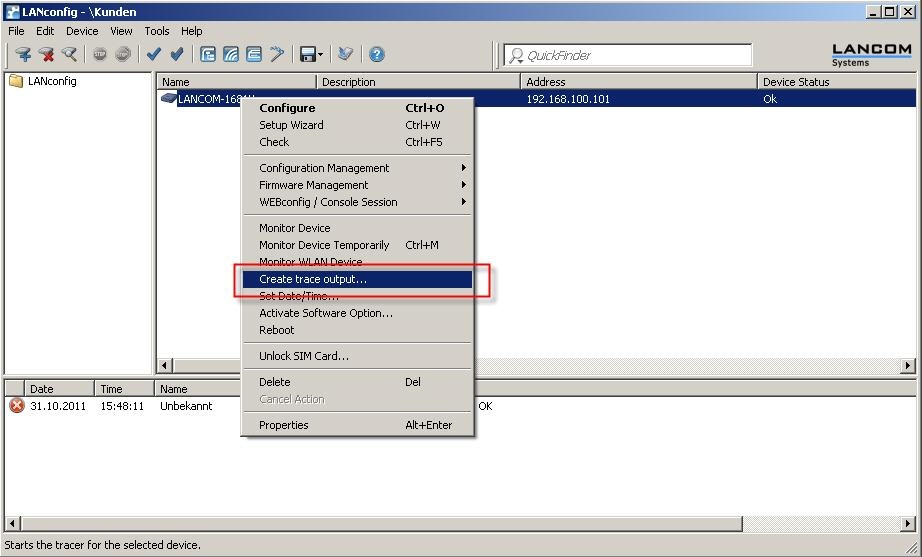 Image Modified
2) A new window opens. As of this point, you have two options for starting a trace.
Option 1: Guided configuration (with the help of a wizard)
1.1) Click in the left-hand window on the item Guided configuration and then on the button Start wizard.
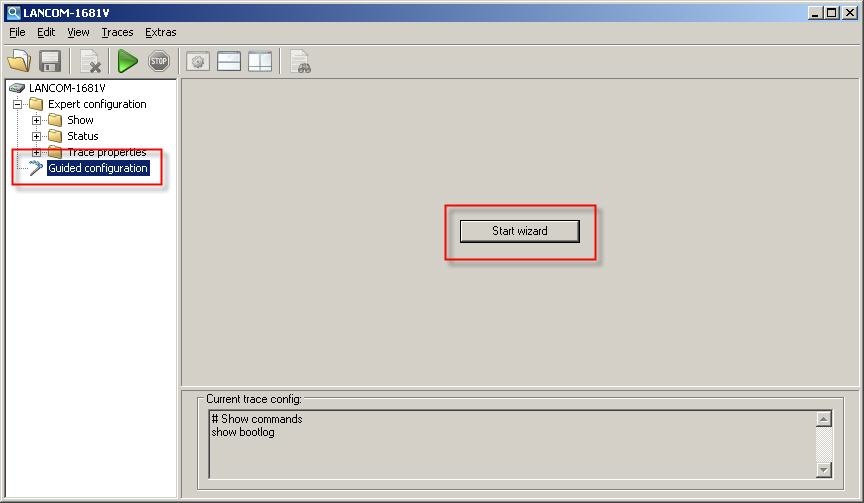 Image Modified
1.2) In the Trace wizard's Welcome dialog, click on the button Next.
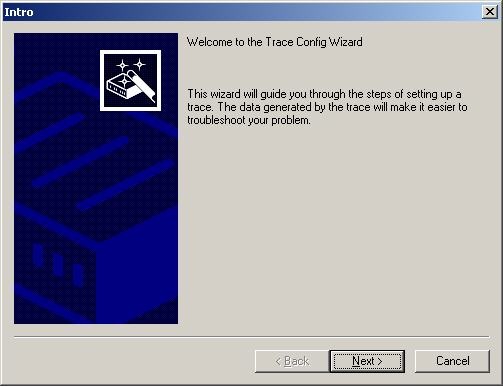 Image Modified
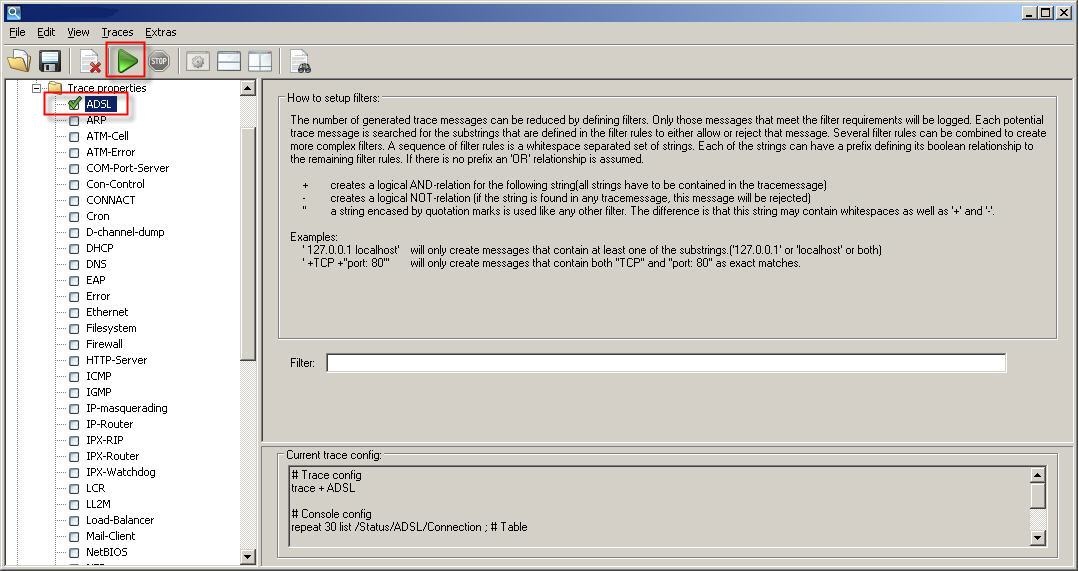
1.3) Select your problem to receive aid with troubleshooting. This allows the Trace wizard to create internal filters, which reduces the size of the log files. You have the option of limiting the log to a certain area. This example creates an ADSL trace.
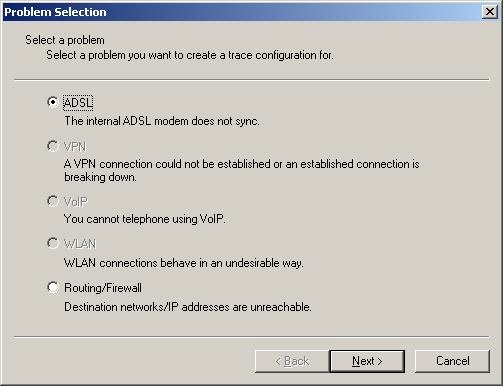 Image Modified
1.4) If you have already created a trace in the past (selection of parameters), you will be asked if this should be replaced. You also have the option of adding the new configuration to the old one.
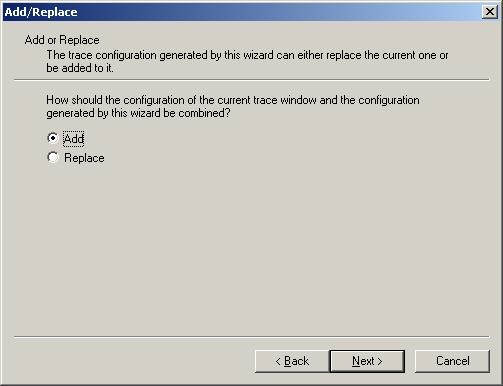 Image Modified
1.5) Click on the Finish button to exit the Trace wizard.
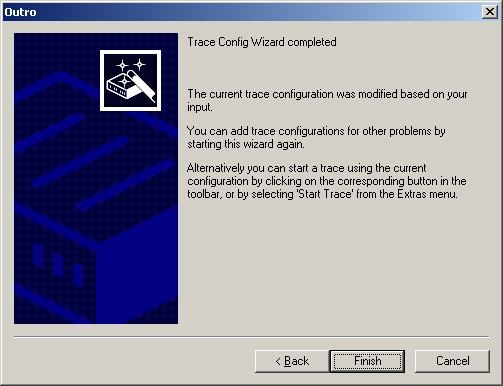 Image Modified
1.6) The trace will be recorded by clicking on Start trace (green button).
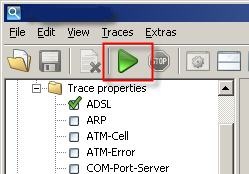 Image Modified
| Info |
|---|
While the trace is recording, repeat the action(s) that caused the error. |
1.7) To end the trace recording, click on Stop trace (red Stop button).
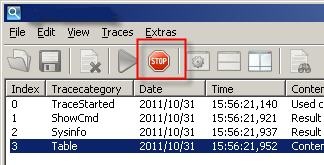 Image Modified
1.8) The recorded data can now by analyzed. The window is divided into two areas: In the upper area you see an index of the log entries. The trace output is displayed in the lower area.
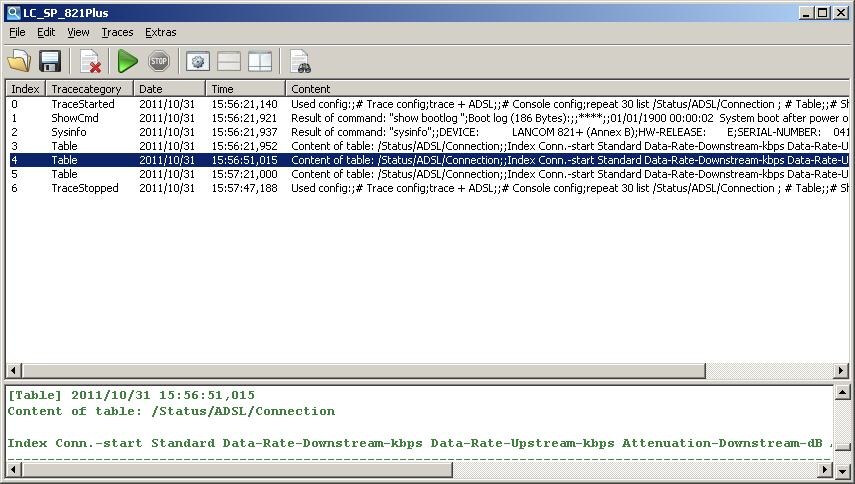 Image Modified
1.9) To save the trace data to a file, click on the disk icon in the menu bar.
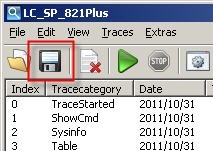 Image Modified
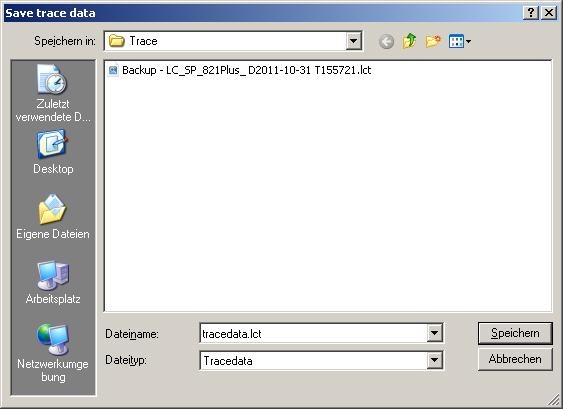
1.10) In the following dialog, specify the storage location and click on save.