Description: This document describes how to use the free SSH client PuTTY to set up a LANCOM router to use an SSH login with public-key authentication. Requirements:
Background to PuTTY: PuTTY is developed by Simon Tatham and is a free SSH and Telnet client for Microsoft Windows, Mac OS and UNIX. It sets up an encrypted connection from a computer to a server. Before connecting, the user's dentity is verified with one of the most commonplace methods of authentication.
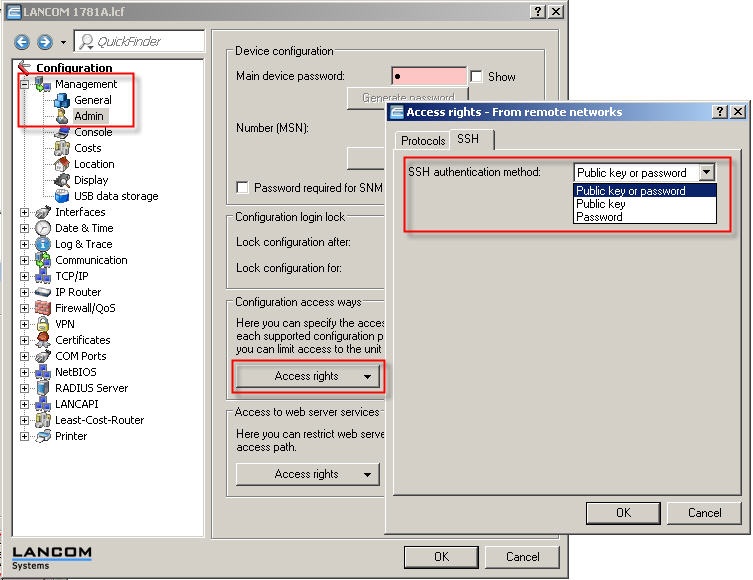
Procedure: 1) The first step is to set the SSH authentication method in the configuration of LANCOM router. This is located under Management → Admin → Access rights → From remote networks → SSH. The following alternatives are available here: - Public key or password:
With this option, public-key authentication is attempted first. If this should fail, then a password query is issued. - Public key:
With this option, only public-key authentication is attempted. - Password:
Public-key authentication is switched off and a password query is issued.
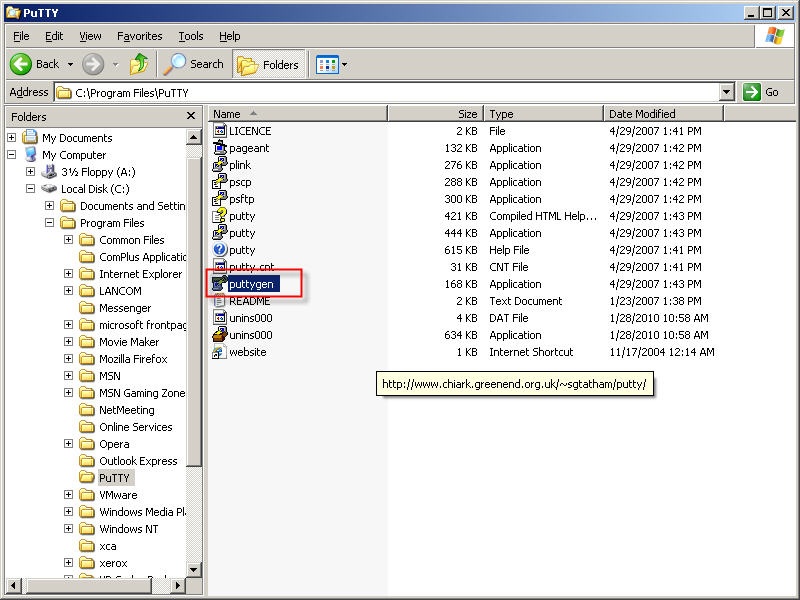
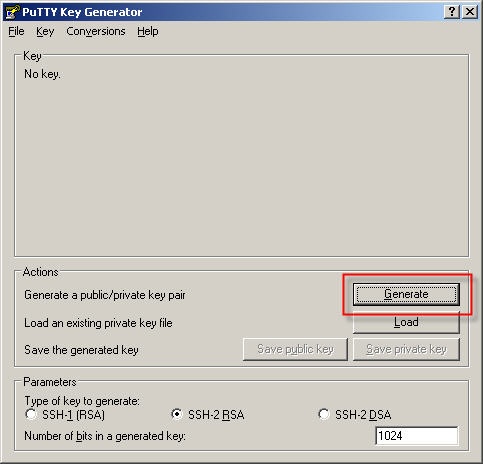
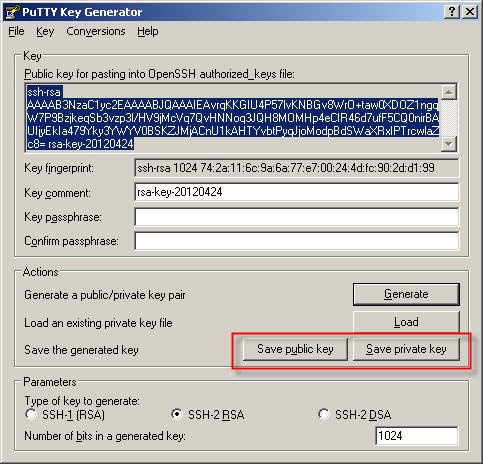
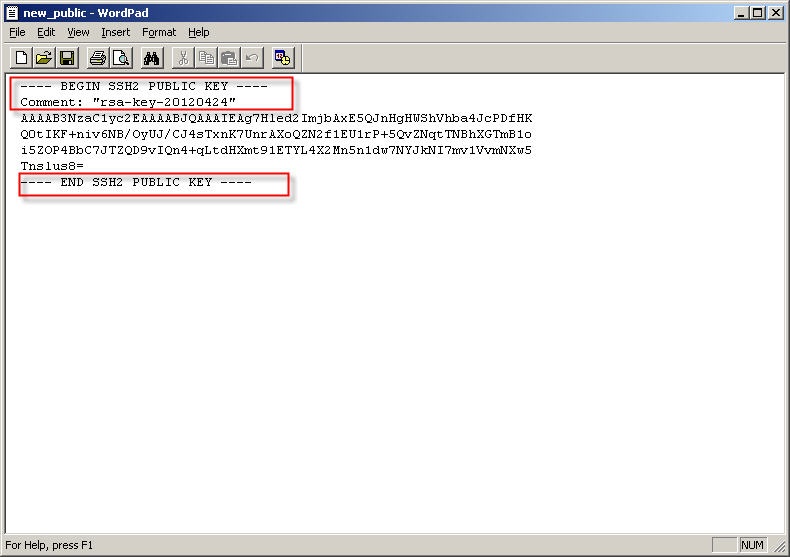
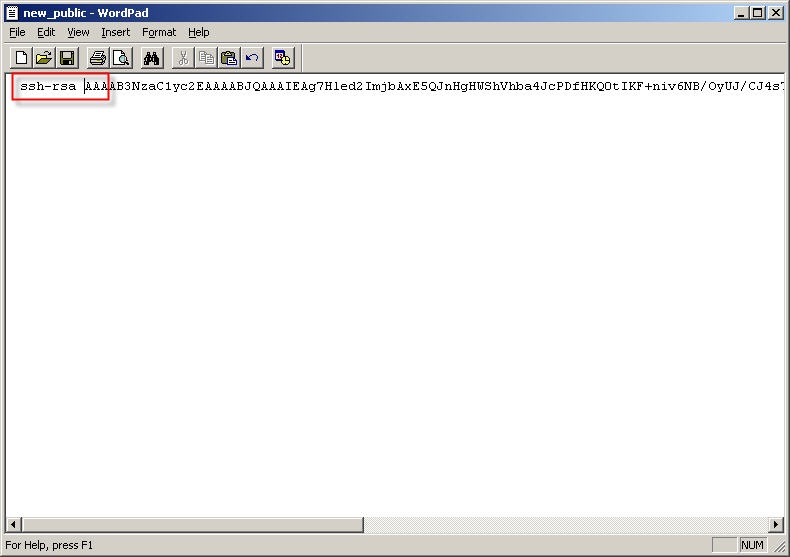
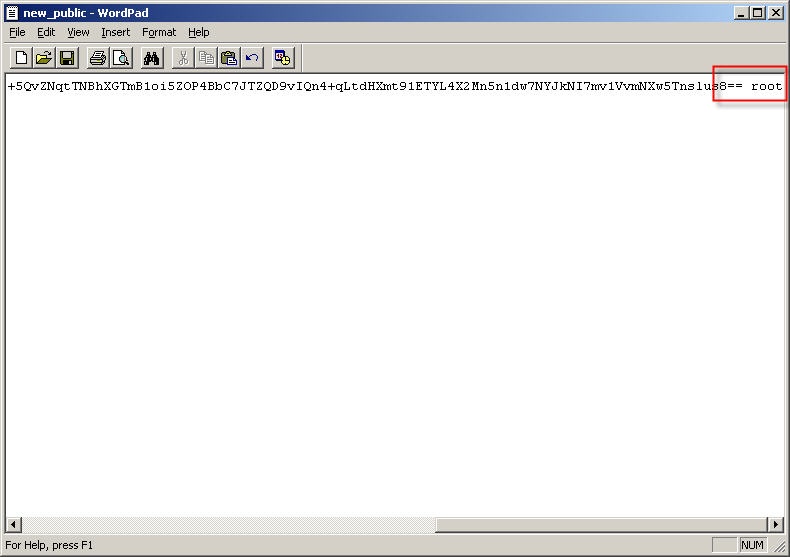
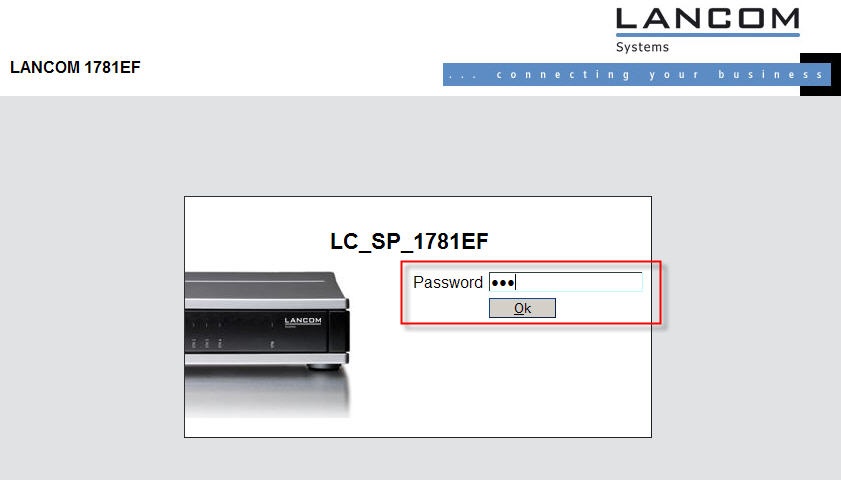
2) Next, the private and public keys must be generated. To do this, start the PuTTY key generator. 3) As shown in this image, take the default settings and generate the keys: 4) Store the private and the public key on your local computer. 5) The key created by PuTTY must now be adjusted. To do this, open the stored public key with a text editor. 6) Delete the text selected in the image. 7) Place the attribute ssh-rsa in front of the actual key and remove the line breaks so that the entire key is on the first line. 8) Specify the user for this key at the end of the key, in this case root. 9) Save from the edited key. 10) Now you open a WEBconfig session on your router and log in. 11) Select the item File management → Upload certificate or file. 12) Select the file type SSH - accepted public keys. 13) Under File name select the newly saved public key and start the upload. 14) Now open the SSH client PuTTY and, under the item Connection → SSH → Auth, select the public key you saved previously. 15) Now go to the session and establish an SSH connection to the router. 
16) Login as the user root. Authentication now takes place using the public key. 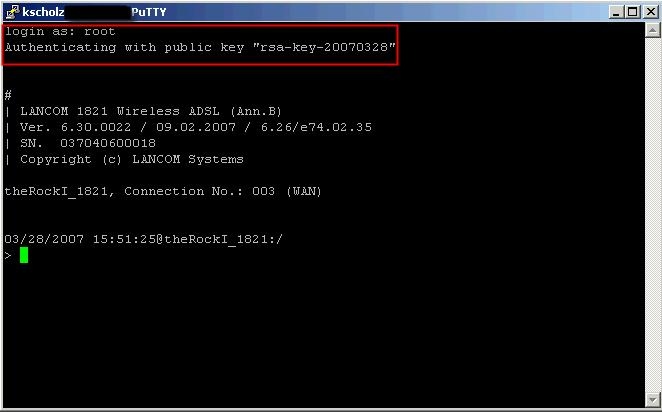
|