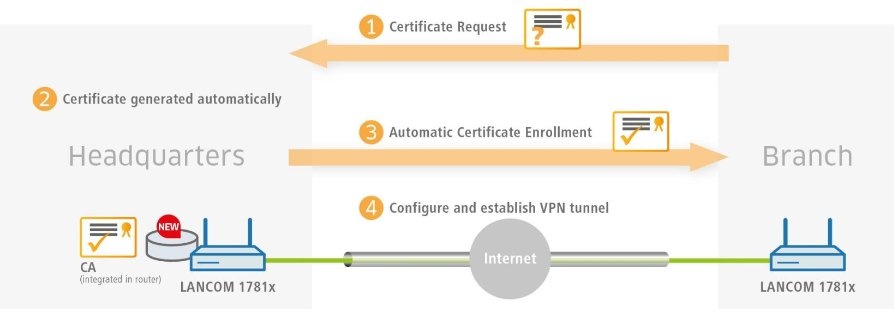
Description: This document uses an example configuration to describe how you enable a CA (certificate authority) on a LANCOM router and how the CA helps you to create and use new certificates for a VPN connection between two LANCOM routers. Certificate distribution is carried out via SCEP (simple certificate enrollment protocol). Requirements: - LCOS version 9.10 or later (download)
- LANtools version 9.10 or later (download)
- LANCOM central-site gateway, WLAN controller, or LANCOM router with an activated VPN 25 Option
Scenario: - A company wishes to interconnect the local networks at their headquarters and at a branch office by means of a site-to-site VPN connection.
- Both sites have a LANCOM router as their gateway and an Internet connection. The public IP address of the Headquarters is 80.80.80.80, and the branch office is 81.81.81.81.
- The VPN connection is established from the branch office to the headquarters.
- The local network at the headquarters has the IP address range 192.168.1.0/24, and the branch office uses the local IP address range 192.168.2.0/24.
- Authentication is to be realized via certificates, which are distributed using SCEP by the LANCOM router at the headquarters.
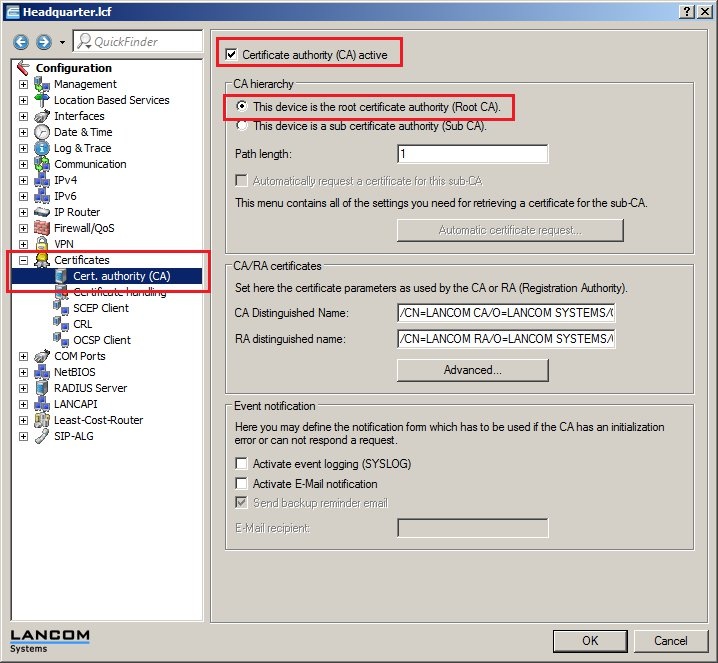
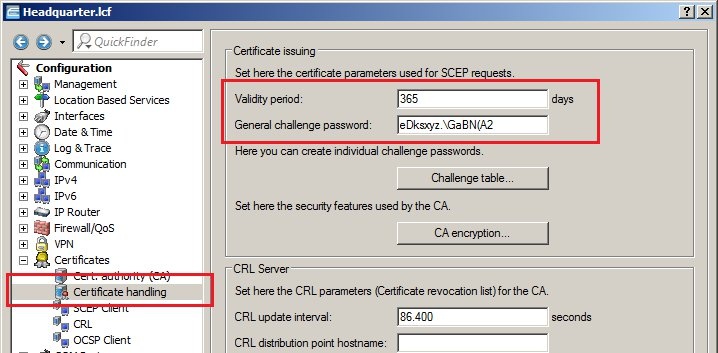
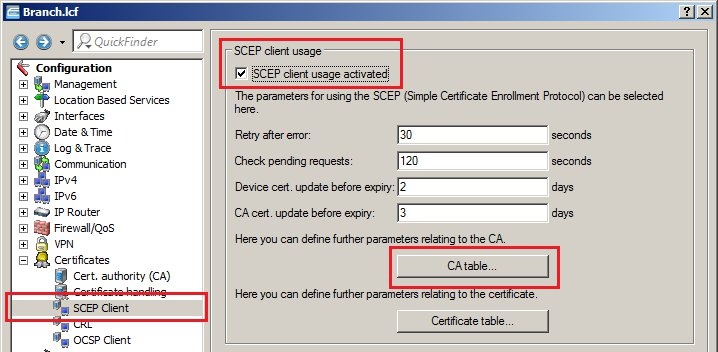
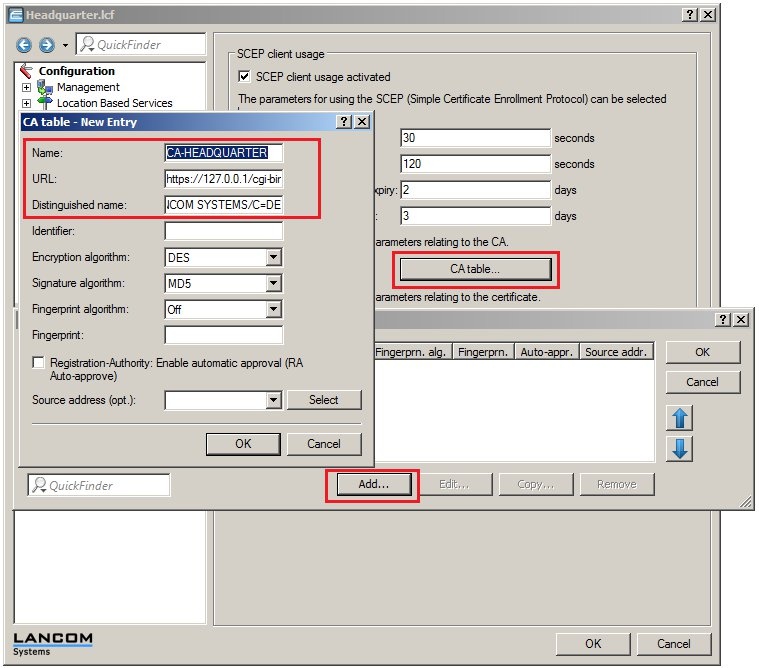
 Procedure: Procedure: 1) Setting up the certificate authority and the SCEP client functionality on the LANCOM router at the headquarters: 1.1) Open the configuration for the LANCOM router at the headquarters and switch to the menu item Certificates → Cert. authority (CA). 1.2) Enable the option Certification authority (CA) active and set the LANCOM router as the principle certificate authority, the root CA. 1.3) Navigate to the Certificate handling menu and set a general challenge password. This is used if no dedicated password has been configured for the SCEP client. 1.4) Navigate to the SCEP client menu and enable the SCEP client usage. 1.5) Then click the CA table button. 1.5) Add a new entry with the following parameters: - Name: The name can be freely selected and used to identify this device.
- URL: The URL is constructed as follows: https://<IP address>/cgi-bin/pkiclient.exe. Replace the <IP address> with the IPv4 address where the CA is accessible from the WAN. Since the CA in this example is on the LANCOM router itself, which at the same time is the endpoint of the VPN connection, the URL is entered as https://127.0.0.1/cgi-bin/pkiclient.exe .
- Set the Distinguished name as the name of the CA. In this example, this is the default name /CN=LANCOM CA/O=LANCOM SYSTEMS/C=DE.
1.6) Then click the Certificate table button. 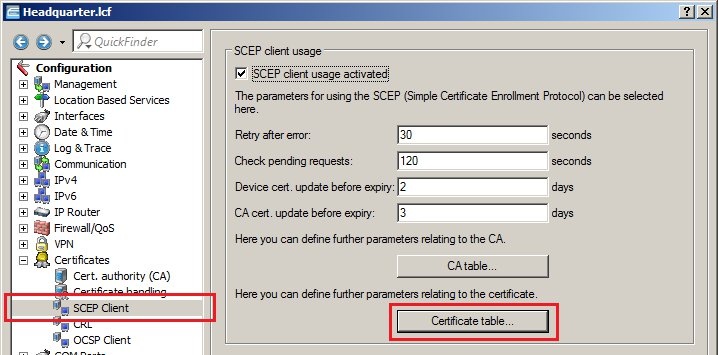
1.5) Add a new entry with the following parameters: - ·Name: The name can be freely selected and used to identify this device.
- CA distinguished name: Set the Distinguished name as the name of the CA. In this example, this is the default name /CN=LANCOM CA/O=LANCOM SYSTEMS/C=DE.
- Subject: Here you enter the certificate name to be used by the headquarters. This example uses the common name only (/CN=HEADQUARTER).
- You need this certificate name for the configuration of the VPN connection on the router at the headquarters (as the local identity) and on the router at the branch office (as the remote identity).
- Challenge password: In this example, we use the general challenge password. Here you enter the password that was set in step 1.3.
- Key length: Select a key length. In this example we use a key length of 2048 bits.
- Usage type: For certificate-based VPN connections, you need to specify the VPN certificate container in the device to which the certificate of the headquarters is to be loaded. In this example we use the container VPN1.

2) Setting up the SCEP client on the LANCOM router at the branch office: 2.1) Navigate to the SCEP client menu and enable the SCEP client usage. 2.2) Then click the CA table button. 2.3) Add a new entry with the following parameters: - Name: The name can be freely selected and used to identify this device.
- URL: The URL is constructed as follows: https://<IP address>/cgi-bin/pkiclient.exe. Replace the <IP address> with the IPv4 address where the CA is accessible from the WAN.
- Set the Distinguished name as the name of the CA. In this example, this is the default name /CN=LANCOM CA/O=LANCOM SYSTEMS/C=DE.
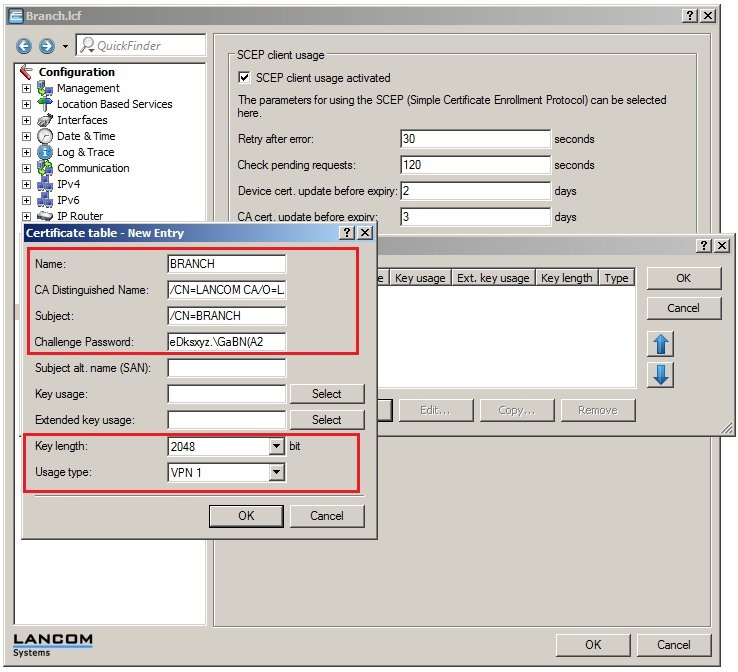
 2.4) Click the Certificate table button. 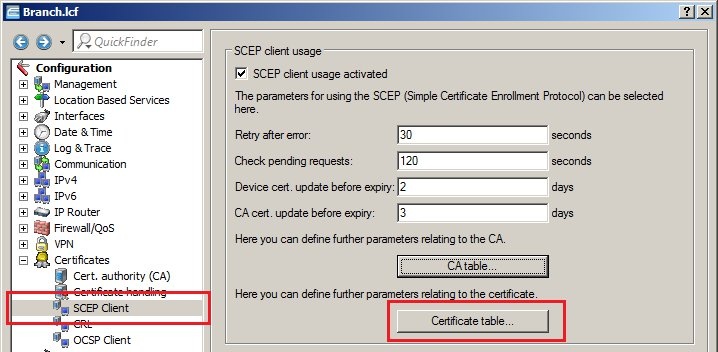 2.5) Add a new entry with the following parameters: - Name: The name can be freely selected and used to identify this device.
- CA distinguished name: Set the Distinguished name as the name of the CA. In this example, this is the default name
/CN=LANCOM CA/O=LANCOM SYSTEMS/C=DE - Subject: Here you enter the certificate name to be used by the branch office. This example uses the common name (CN) only (/CN=BRANCH).
- You need this certificate name for the configuration of the VPN connection on the router at the branch office (as the local identity) and on the router at the headquarters (as the remote identity).
- Challenge password: In this example, we use the general challenge password. Here you enter the password that was set in step 2.1.
- Key length: Select a key length. In this example we use a key length of 2048 bits.
- Usage type: For certificate-based VPN connections, you need to specify the VPN certificate container in the device to which the certificate of the headquarters is to be loaded. In this example we use the container VPN1.
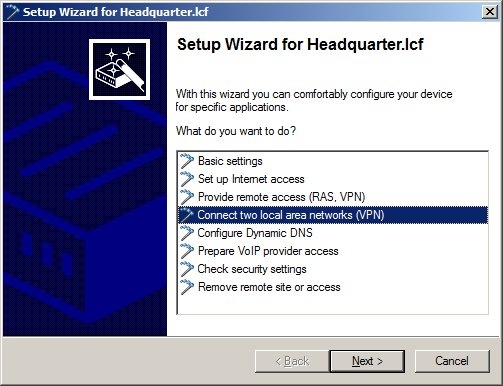
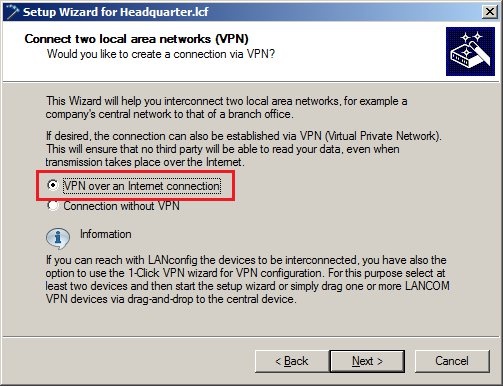
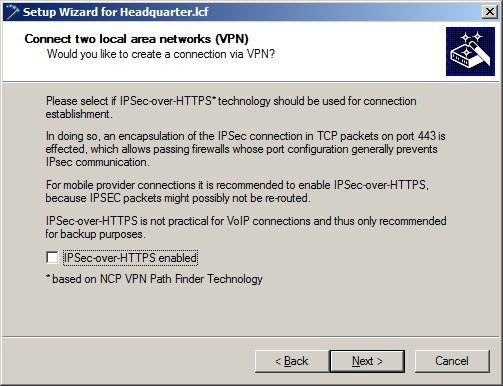
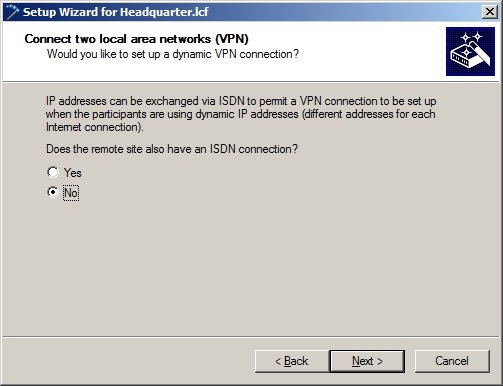
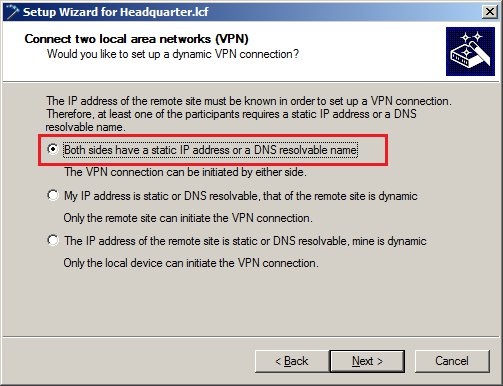
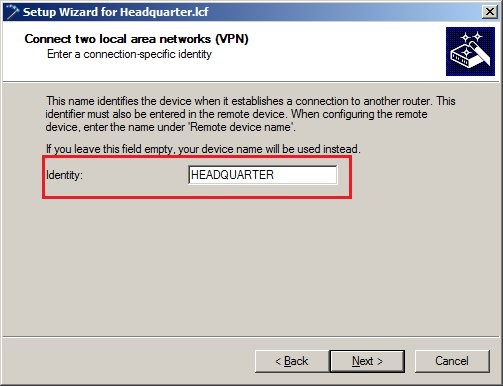
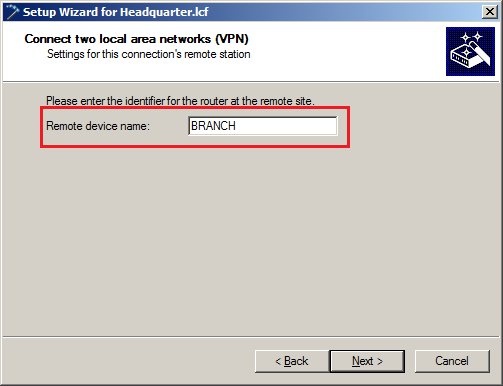
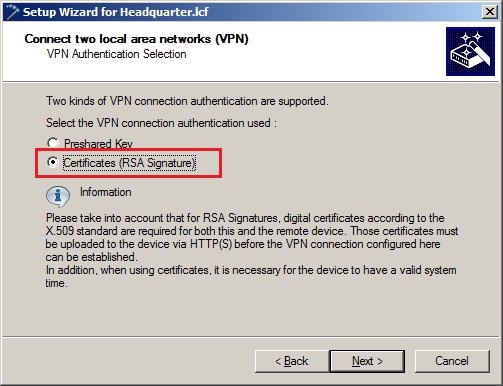
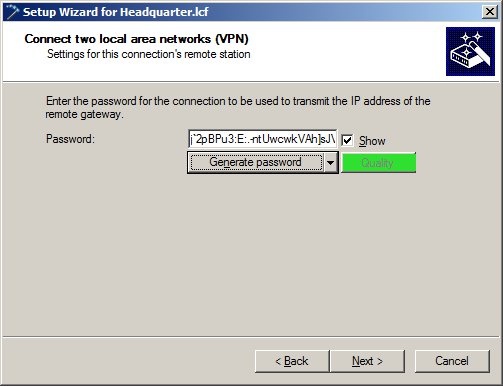
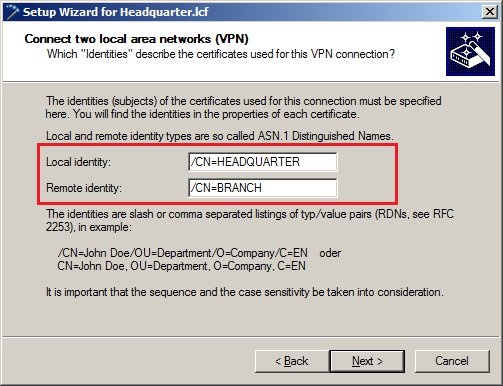
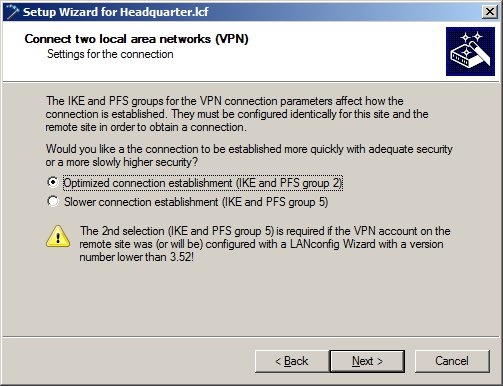
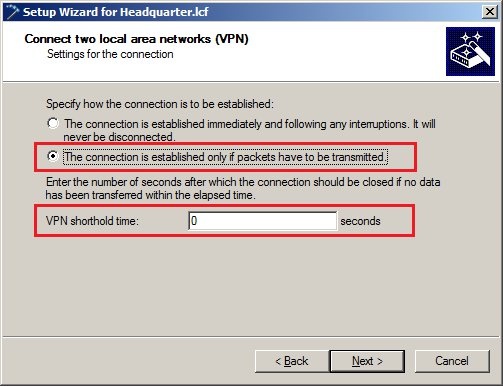
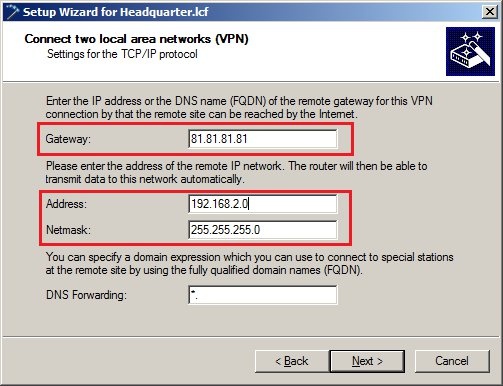
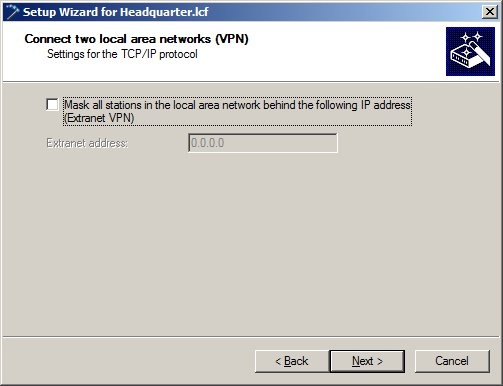
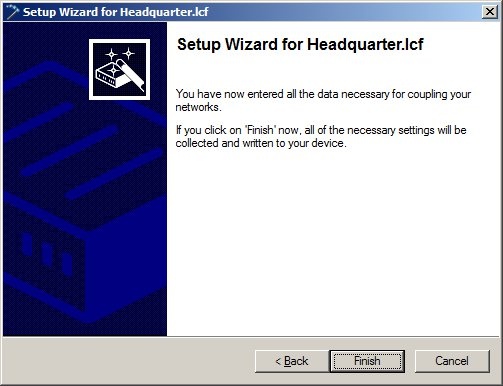
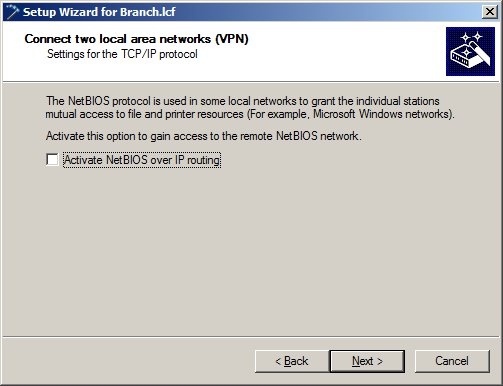
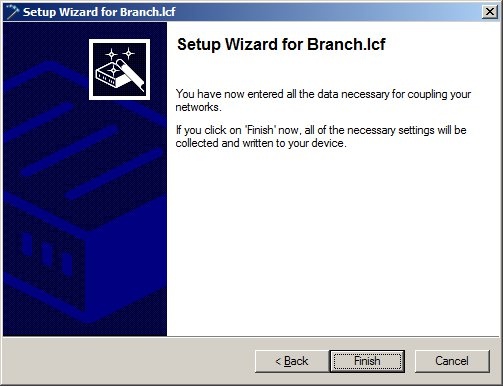
3) Configuring the VPN connection on the LANCOM router at the headquarters: 3.1) Start the Setup Wizard on the router at the headquarters and select the option Connect two local area networks (VPN). 3.2) The VPN connection should be established via an Internet connection. 3.3) In this example, we do not use IPSec-over-HTTPS. 3.4) We are not using a dynamic VPN connection. 3.5) Since both ends have a static public IP address, you can select the first option. 3.6) Set your own identity to HEADQUARTER. 3.7) The name of the remote device is BRANCH. 3.8) The VPN connection authentication is performed via Certificates (RSA signature). 3.9) Set a password for the connection. This is used for communicating the IP address of the remote gateway. Make a note of the password now as you will need it again for step 4.9. 3.10) In this case, enter the local identity as /CN=HEADQUARTER and the remote identity as /CN=BRANCH. 3.11) Select the option Optimized connection establishment. 3.12) Since the LANCOM router at the headquarters should accept the VPN connection, you need to choose the lower option and set the VPN short hold time to 0. 3.13) In the next dialog, specify the public IP address or FQDN of the router at the branch. In this example it is 81.81.81.81. The local network at the branch office has the IP address 192.168.2.0/24. 3.14) Extranet VPN is not used in this example. 3.15) NetBIOS is not used in this example. 3.16) Click on Finish to write the configuration back to the LANCOM router.
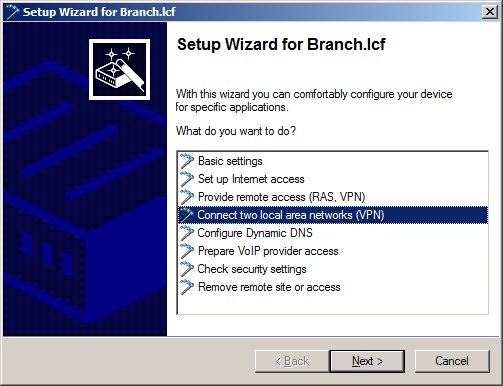
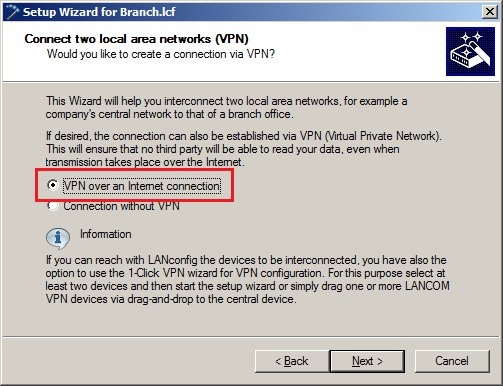
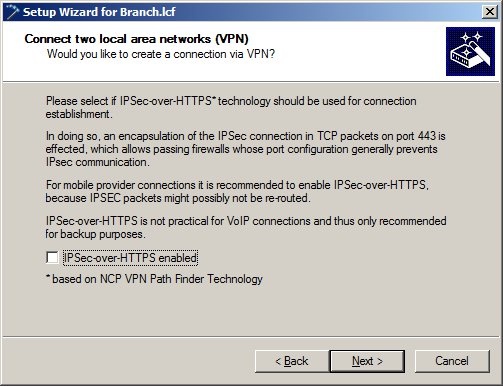
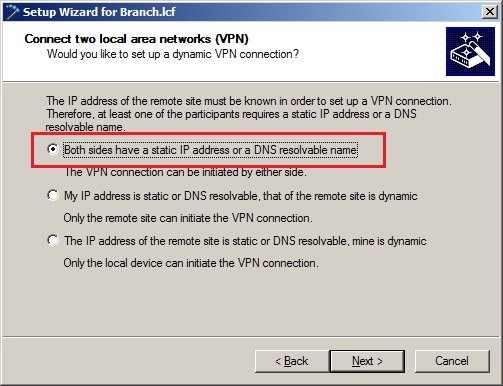
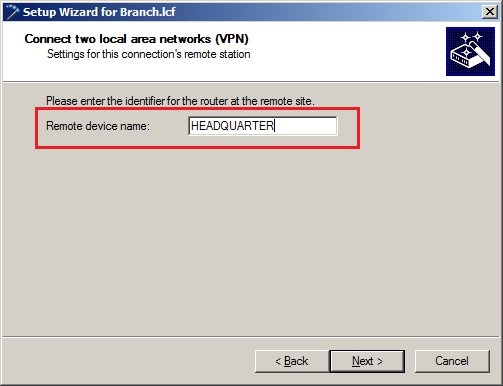
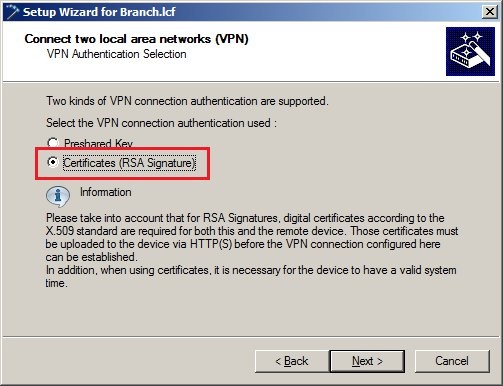
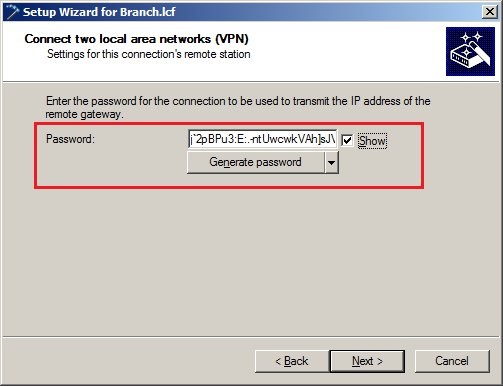
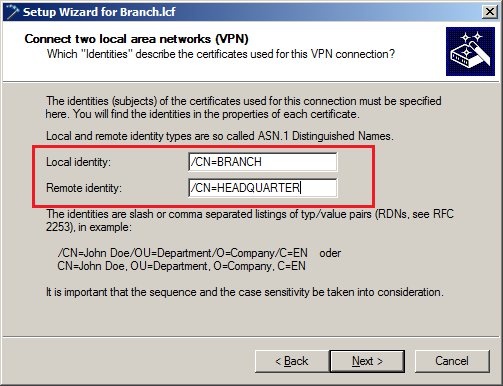
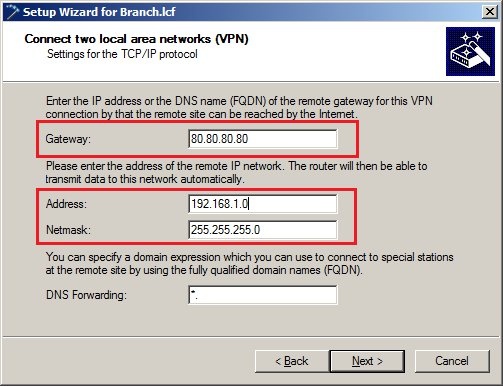
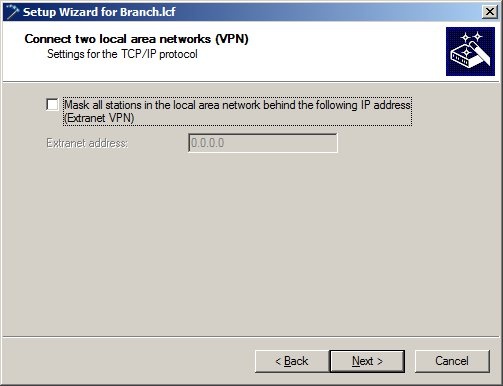
4) Configuring the VPN connection on the LANCOM router at the branch: 4.1) Start the Setup Wizard on the router at the branch and select the option Connect two local area networks (VPN). 4.2) The VPN connection should be established via an Internet connection. 4.3) In this example, we do not use IPSec-over-HTTPS. 4.4) We are not using a dynamic VPN connection. 4.5) Since both ends have a static public IP address, you can select the first option. 4.6) Set your own identity to BRANCH. 4.7) The name of the remote device is HEADQUARTER. 4.8) The VPN connection authentication is performed via Certificates (RSA signature). 4.9) In the Password field you have to enter the same password that you set in step 3.9. 4.10) In this case, enter the local identity as /CN=BRANCH and the remote identity as /CN=HEADQUARTER. 4.11) Select the option Optimized connection establishment. 4.12) Since the LANCOM router at the branch office should establish the VPN connection, you need to choose the upper option. 4.13) In the next dialog, specify the public IP address or FQDN of the router at the headquarters. In this example it is 80.80.80.80. The local network at the headquarters has the IP address 192.168.1.0/24. 4.14) Extranet VPN is not used in this example. 4.15) NetBIOS is not used in this example. 4.16) Click on Finish to write the configuration back to the LANCOM router. This concludes the configuration. After the configuration has been written back to the LANCOM router at the branch office, it immediately establishes the VPN connection to the router at the headquarters. |