Description: The change to a new router requires the transfer of the VPN certificates and the configuration. One way to do this is to create a SCEP-CA backup. However, this only contains the CA itself, but not the VPN CA and the VPN certificates.
This article describes how the VPN certificates can be regenerated with Smart Certificate after a SCEP-CA backup is uploaded to the new router. This allows existing VPN connections to continue to be used.
Requirements: - LANCOM central-site gateway, WLAN controller, or LANCOM router with an activated VPN 25 Option.
- The VPN-CA and thus the VPN certificates were created using the CA integrated in the old router.
Procedure: 1) Steps to carry out on the source device: 1.1) First create a script backup of the old router. This is described in the following article:

1.2) On the old LANCOM router containing the CA (certificate authority), you first perform a backup of the CA. The backup is stored on the router.
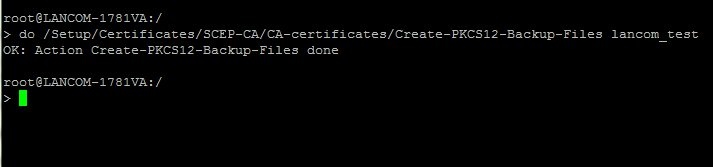
- Open an SSH session on the router and run following command:
do /Setup/Certificates/SCEP-CA/CA-certificates/Create-PKCS12-Backup-Files <passwort>
Set the <password> to a password of your choice. The password is required because it is only possible to upload certificate containers to a LANCOM device if a password has been set.
- You then enter the command ls /Status/File-System/Contents. This allows you to check whether the backup files were created successfully. The following files should appear in the list:
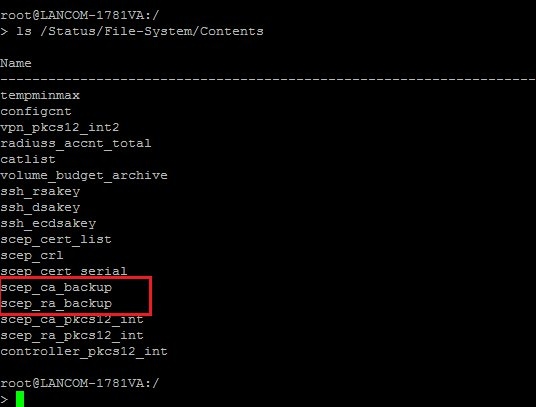
1.3) In the next step, the files for the CA & RA backups, the SCEP CA certificate list, and the SCEP CA serial number need to be downloaded
from the router and saved to your PC or an external data medium (see figure).
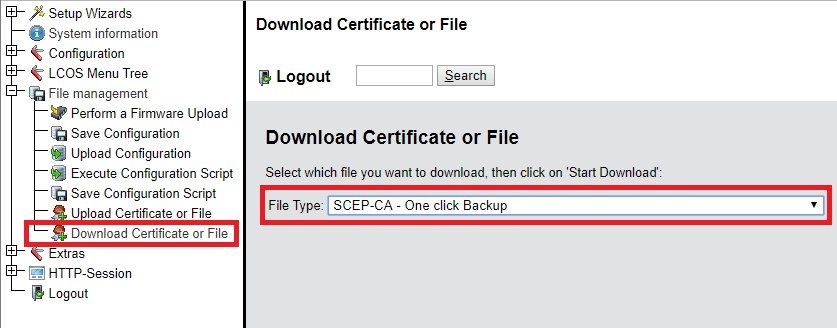
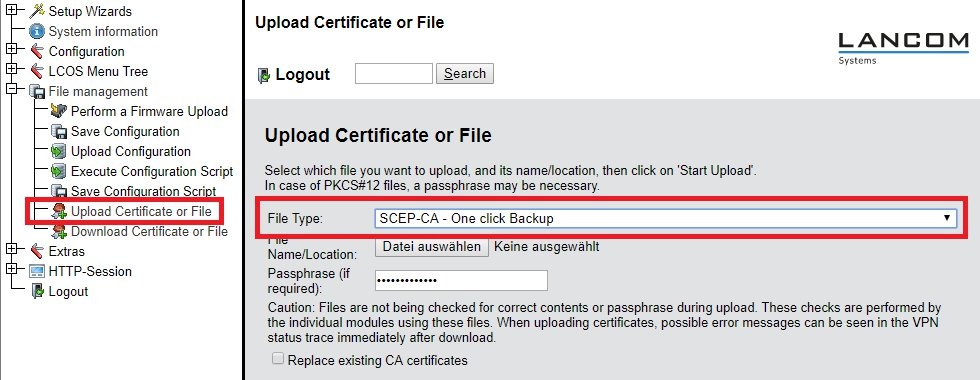
- You can do this, for example, using WEBconfig with the menu item File management -> Download certificate or file.
- For the file type, select the option of SCEP-CA - One Click Backup. This methods exports all of the required files to a file named "scep_download_oneclick_backup".
Please use a regular browser for this purpose and not the browser integrated in LANconfig. Alternatively you can perform the download with LANconfig itself.
1.4) Open the configuration of the router in LANconfig, navigate to the menu
Certificates -> Certificate handling and save the
General challenge password to a file for transfer to the new router.
 2) Steps to carry out on the target device: Important: The target device must be in its ex-factory state. It may not be configured in advance. Do not upload the configuration of the old router to the new device at this time!
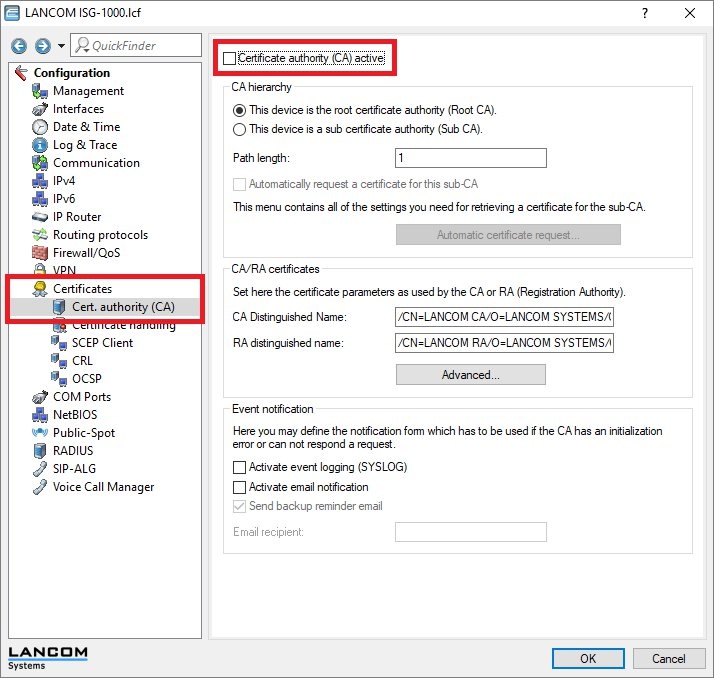
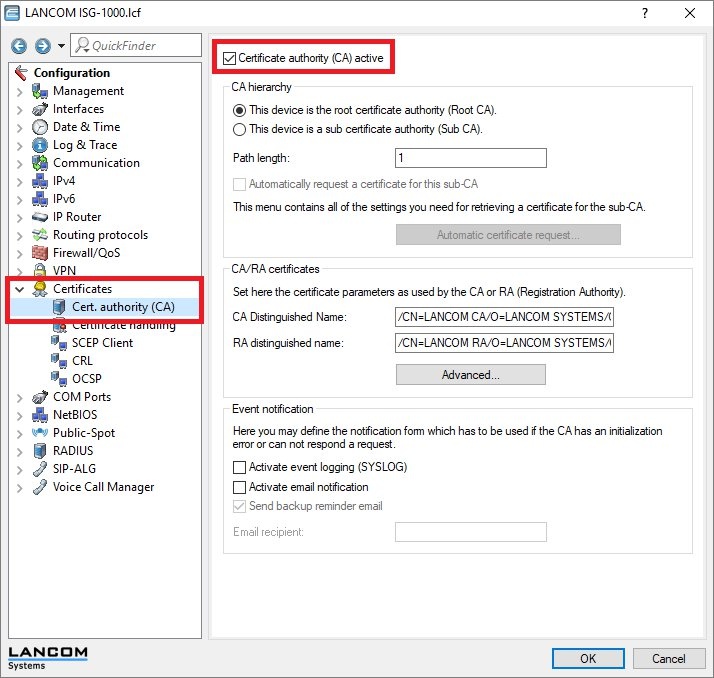
 2.1) Open the configuration of the new router in LANconfig, change to the menu
Certificates -> Cert. authority (CA) and make sure the
CA is disabled.
2.2) Now open WEBconfig and use the item
File management -> Upload certificate or file.
2.2) Set the
file type to the option
SCEP-CA - One Click Backup and, in the
file name box, specify the
path to the file "scep_download_oneclick_backup" which you saved in
step 1.3.
2.3) In the
Password field you have to enter the password that you assigned in
step 1.2.
2.4) Activate the CA in LANconfig by clicking on
Certificates -> Cert. authority (CA) and setting the checkmark under
Certificate authority (CA) active.
2.5) Enter the
General challenge password saved in
step 1.4 on the new router under
Certificates -> Certificate handling.

2.6) Finally, upload the script backup created in
step 1.1 from for the old router onto the new device. Based on the entries in the
CA table and the
Certificate table under
Certificates -> SCEP client, the imported CA now creates the VPN-CA and one or more new VPN certificate(s).
Info: - Although the serial numbers of the CAs are different, the modulus and X509v3 extensions of both CAs are the same. The new router is able to create VPN certificates for establishing a VPN connection between existing peers.
